Creating a Python environment and installing the SystemLink migration tool (nislmigrate)
To migrate the data on the SystemLink server, use nislmigrate, which can be run on Python 3.8.
nislmigrate is installed using pip in an environment where Python is installed.
1. Download and instal
Python 3.8. Then upgrade pip.
2. Start the command prompt with administrator privileges.
3. Use the following commands to upgrade pip and install nislmigrate
pip install --upgrade pip
pip install nislmigrate
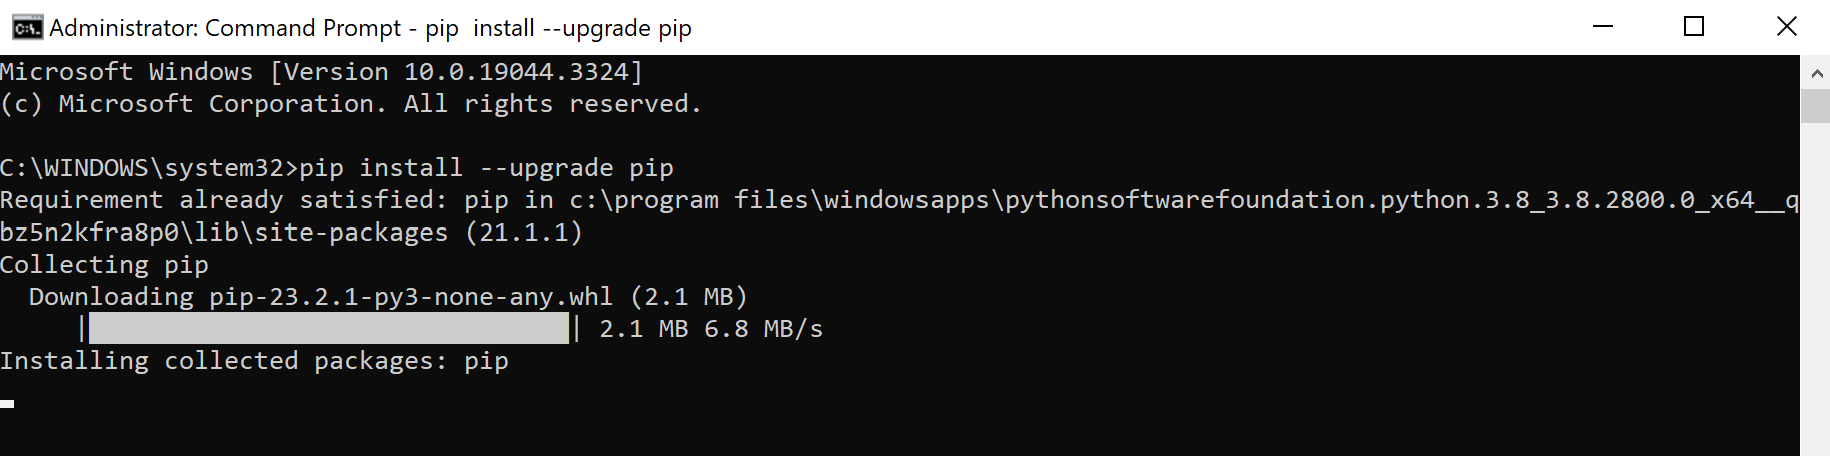
Note, this command may change depending on the environment and your Path definition.
Creating a backup file
1. Start the command prompt with administrator privileges and create a backup file.
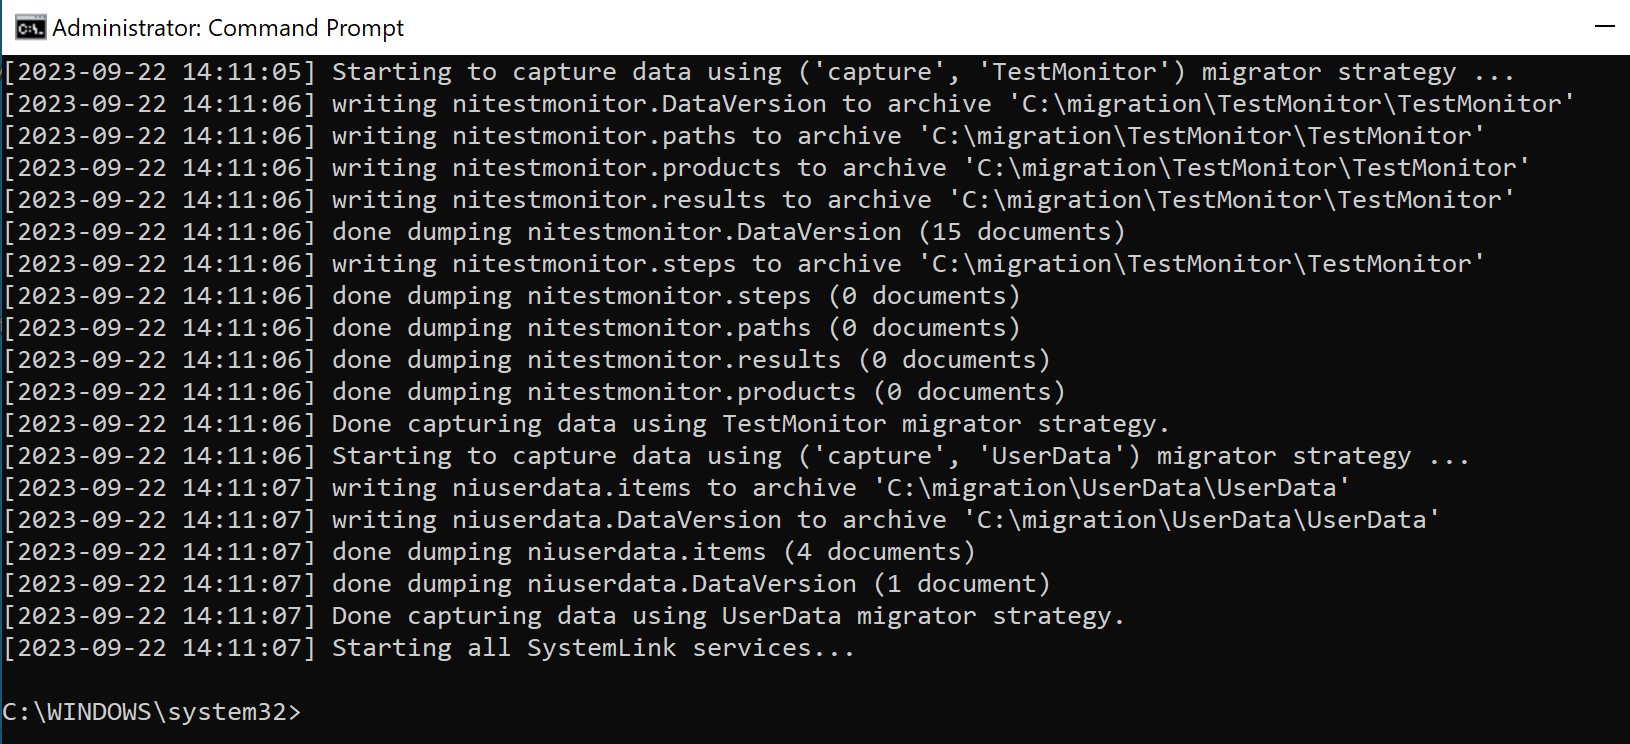
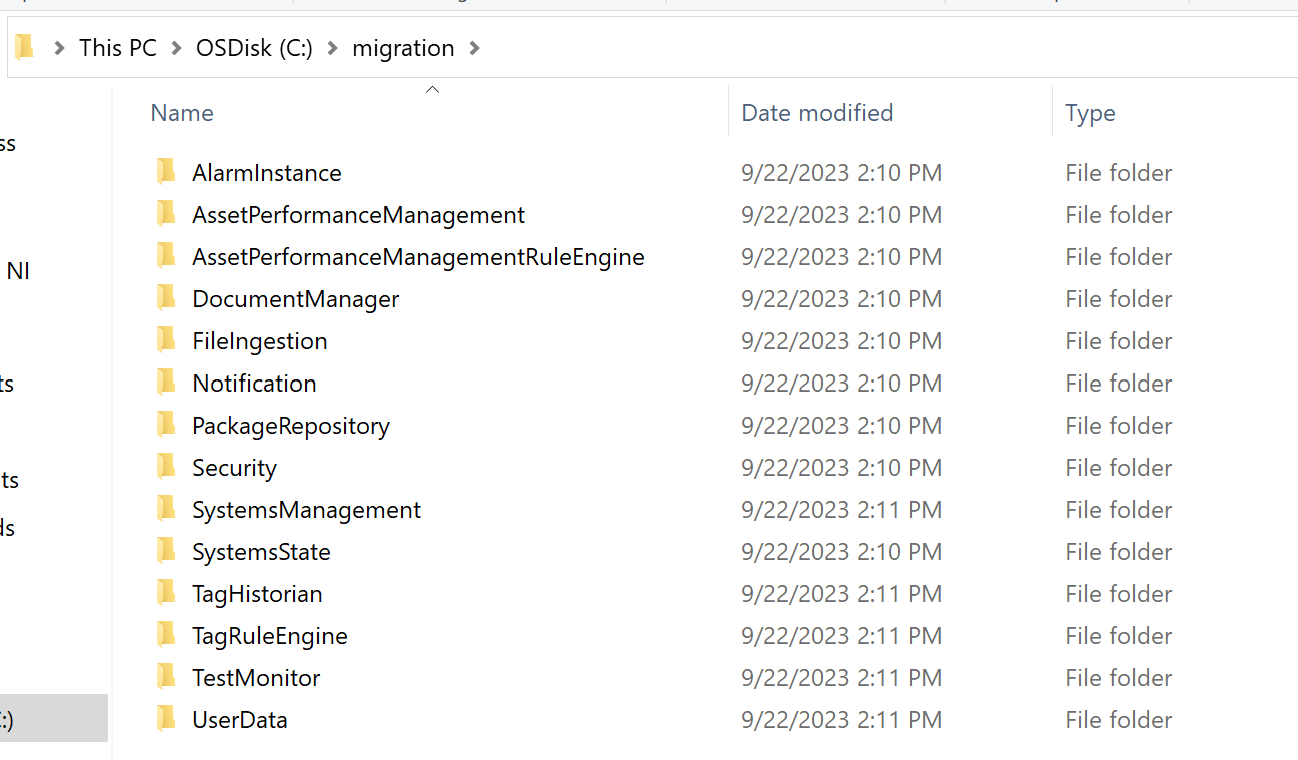
2. The following command will create a backup file in C:\migration. This backup file contains data for all services listed in the Supported Services table at this link . Also, "password" is required as a password when using this backup. Keep in mind that the SystemLink server will be temporarily stopped when you make a backup, so when you do this, SystemLink will be stopped.
nislmigrate capture --all --secret password --dir D: \ migration
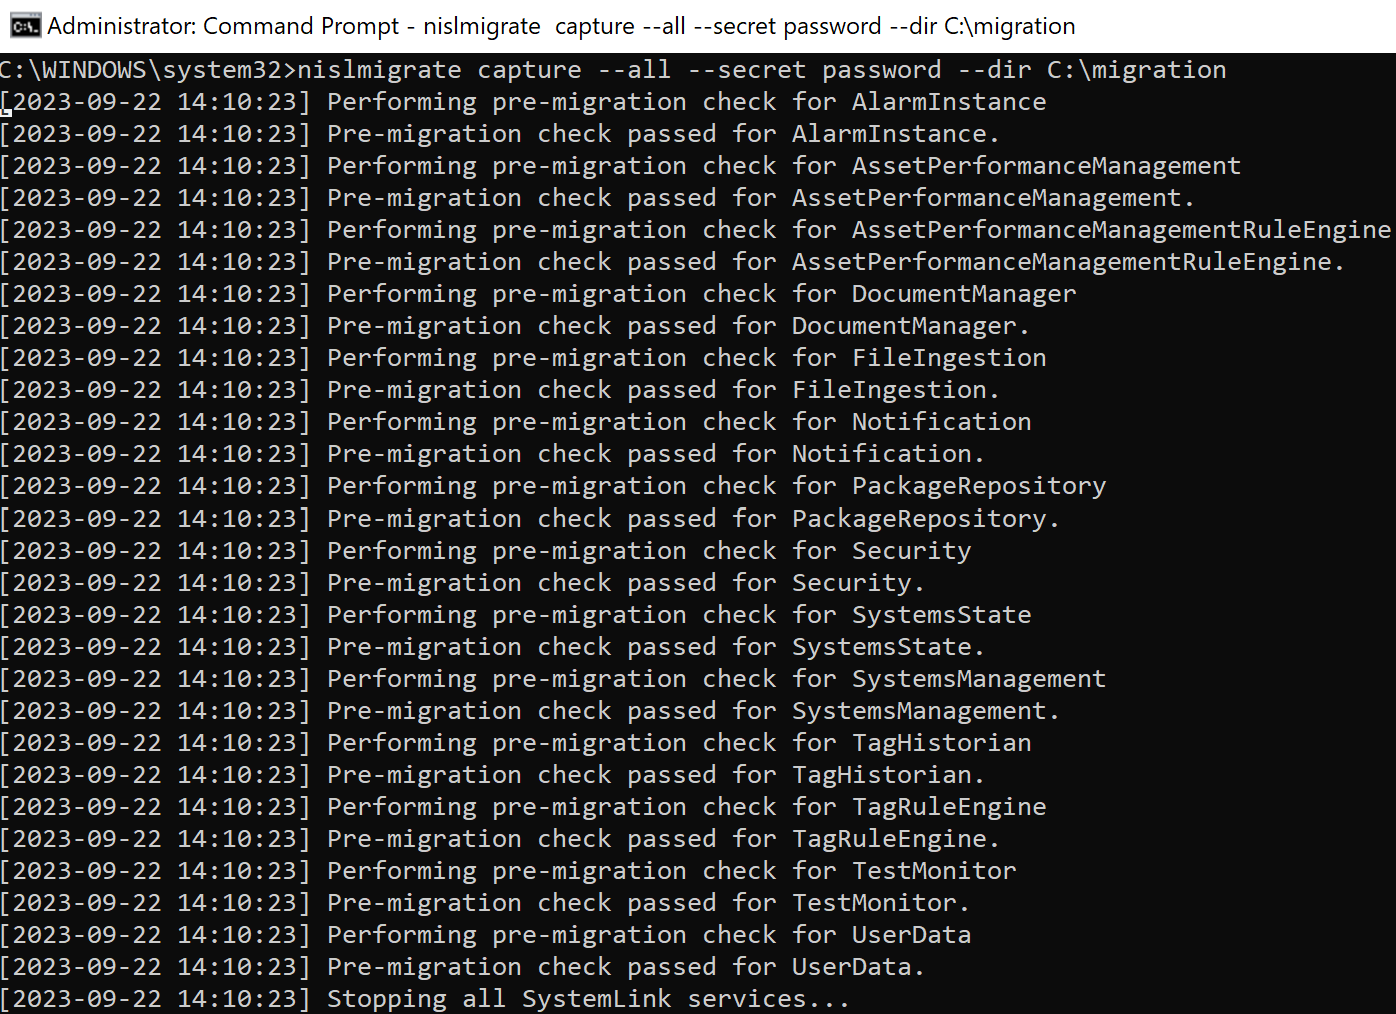
...
Restore from backup file
1. To migrate data using a backup file to a newly installed environment of SystemLink, place the backup file in the specified path and use the following command.
nislmigrate restore --all --secret password --dir C:\migration --force
Here, the backup file is placed in C:\migration, and the "password" specified as the password is entered to restore from the backup file.
2. Compare the status of the two servers after the backup. For example, you can confirm that the file properties etc. have been migrated as they are.
The migration is now complete.