1. Follow the Enabling OpenID Connect in SystemLink instructions of the
SystemLink Operations Handbook.
2. Edit the configuration files: *
.provider and *
.client with the following instructions:
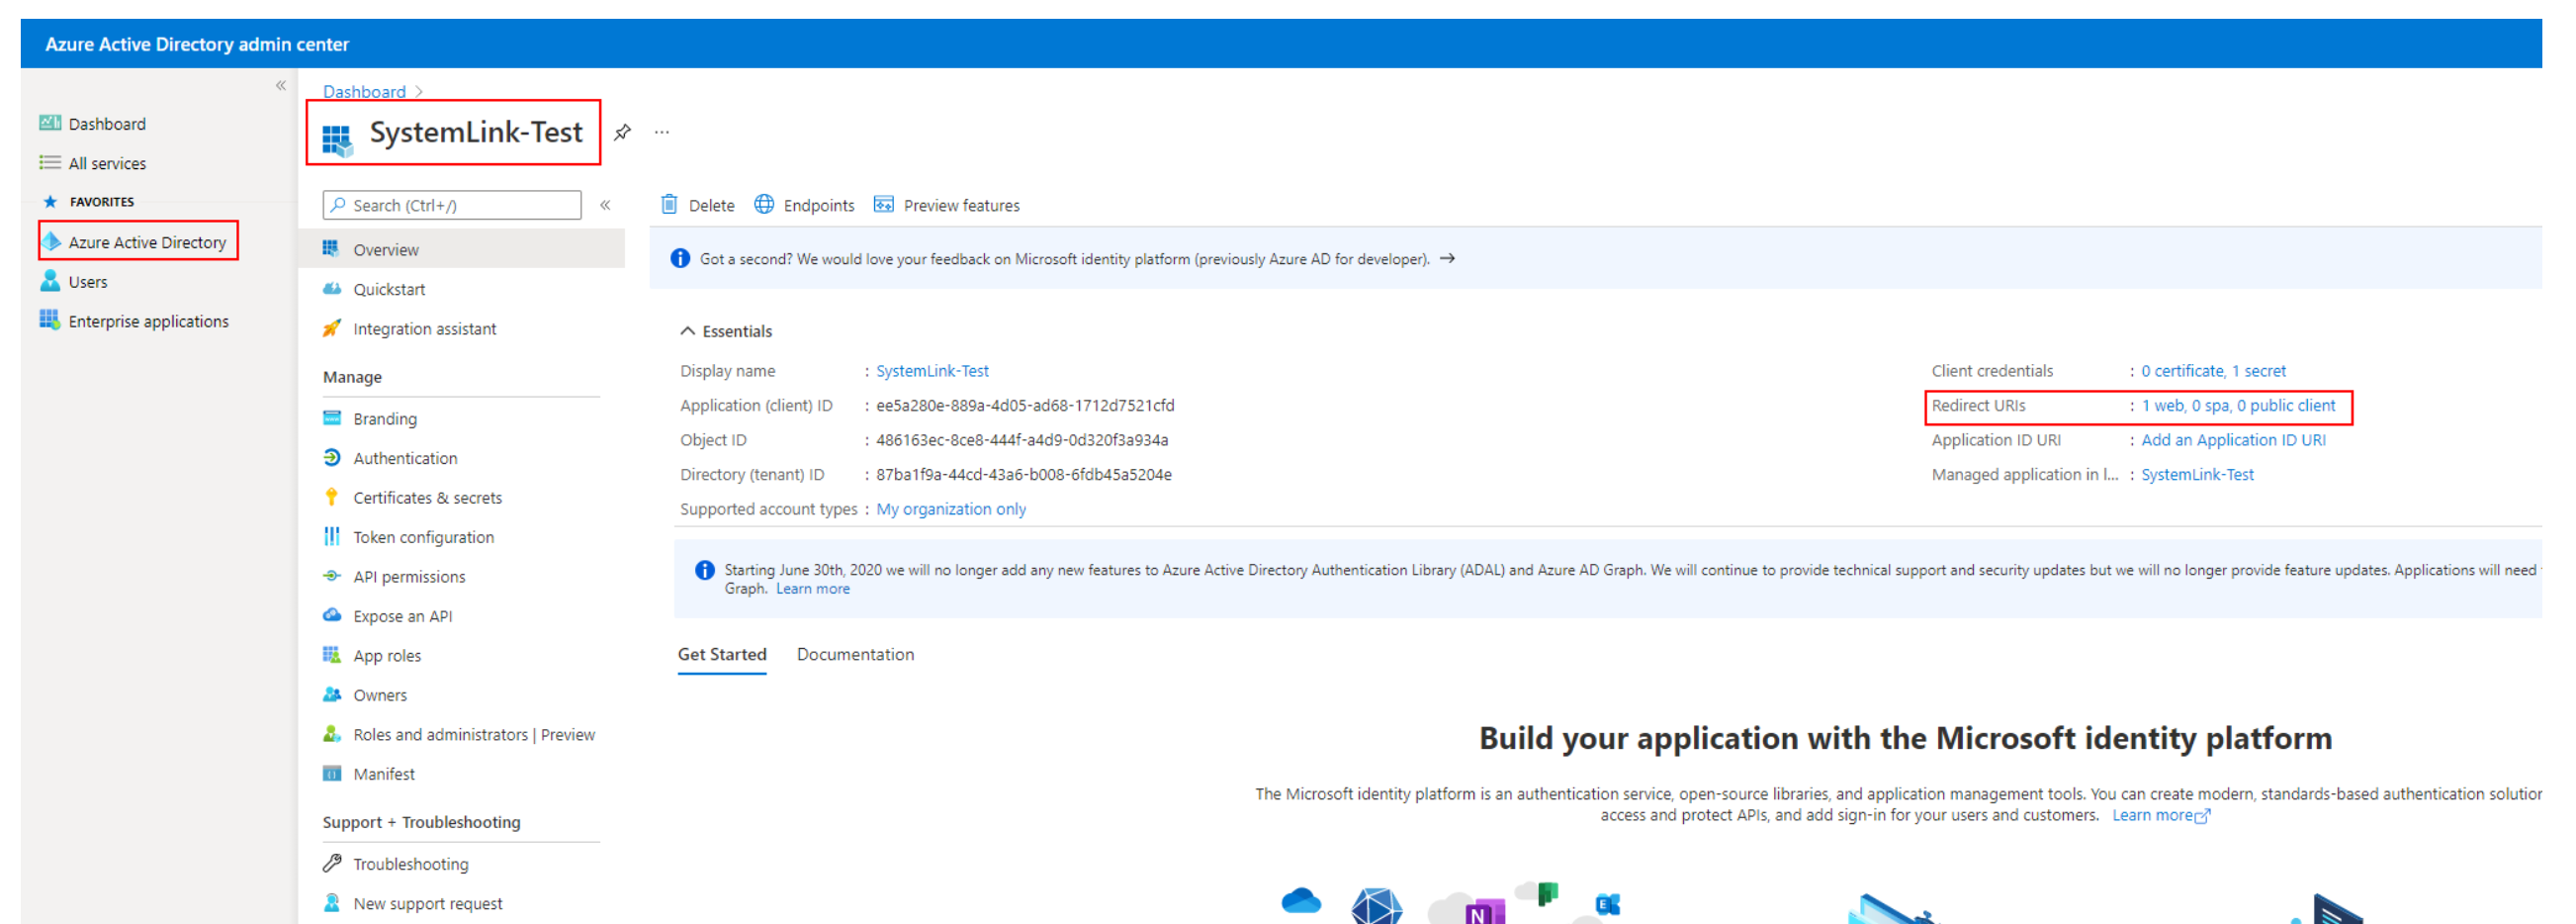
1. Log in to your Azure account and navigate to Azure AD.
2. From Azure AD navigate to
App registrations and select the application (named
SystemLink-Test in the following image). You may need help from your IT team to create the application.
3. Select
Endpoints,
this should
open a side panel. Then select and copy
OpenID Connect metadata document link as shown below.
4. Paste the copied link to any browser to see the content of OpenID Metadata and copy the entire content displayed.
5. Open
*.provider file and paste the content copied in the above step and save the file.
6. One of the lines in this content should say "issuer": "https://
provider-issuer-uri", where
provider-issuer-uri, is the content you want to copy now.
7. Name the three configuration files using this
provider-issuer-uri, for example:
provider-issuer-uri.client,
provider-issuer-uri.provider, and
provider-issuer-uri.conf.
8. Replace any forward slash (/) with "%2F" in the names of the files, for example, "
microsoftonline.com/8ab" would be written as: "
microsoftonline.com%2F8ab".
9. Open
*.client file and update the
client ID and
client secret, you can get
client ID from Azure, the
client secret will be generated at the time of app creation which you need to get from App creator. After updating these values save the file.
10. No change is required for the
*.conf file but you can for example change the default display name:
11. Open
50_mod_auth_openidc-defines.conf file from
C:\Program Files\National Instruments\Shared\Web Server\conf\defines.d in the server and change all
UnDefine to
Define as shown.
12. Optionally, if you want to have a different image at "Login with SSO". Open C:\Program Files\National Instruments\Shared\Web Server\htdocs in the server, place a 16x16 pixel image, and edit the 50_mod_auth_openidc-defines.conf file as shown below.
13. Open NI Web Server Configuration, navigate to Authentication Tab, enable Use Open ID Connect (advanced), and then click Apply and restart.
14. Navigate to your application in Azure AD and update the Redirect URIs field by clicking the Redirect URIs hyperlink:

15. Inside the Redirect URIs settings page click
Add a platform, which opens the Configure platforms side panel, then select
Web.
16. Enter the redirect URI as shown below, click Configure>>Save.
Example redirect URI : https://"Your Server DNS Name"/login/openidc-redirect
Example Front-channel Logout URL : https://"Your Server DNS Name"/login/openidc-redirect?logout=get
17. Test the functionality by navigating to the server address in any browser or opening the NI SystemLink Web Application in the SystemLink server. Now you should see Login with SSO (or your custom message) with an icon displaying (if you added any) and you should be able to login with SSO.
18. If you log in with SSO for the first time you may not have access to any application on the server. As an administrator, to set up access or make someone administrator you'll need to log in the first time with your username and password and navigate to Access Control>>Roles at the top left in the SystemLink server web interface. If you are not an administrator, please contact your SystemLink server administrator and ask for assistance.
19. Click the top-right gear icon to open the Global Settings side panel:
20. Enter Attribute and Role, as needed and click Update:
21. Optionally, if you want to remove the default Username and Password login option. Open NI Web Server Configuration in the SystemLink Server machine, navigate to the Authentication tab and disable Log in as users controller by the web server.
Which should result in something similar to: