Open <root>\index.html and change the following line to point to a new icon or replace the default icon:
Open
<root>\resources\json\locales\xxx\skyline-view.json, where "xxx" stands for a folder for each supported language and modifiy the following line:
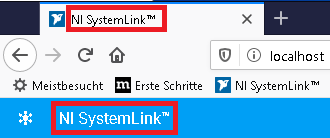
"pageTitle": "NI SystemLink™",In addition, you can modify further text, that are displayed by the landing page.
Restart the NI WebServer and delete your browser cache to see the changes.
Navigate to
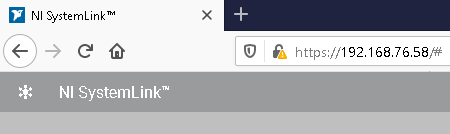
<root>\resources\css\skyline-view.cssModify the Hex color values for the property "skyline-view-header" and "skyline-view-iframe". In addition you can also change the behavior of any other element as with any css definition.
Restart the NI WebServer and delete your browser cache to see the changes.
The icons of all default SystemLink plugins are stored as web open font format (woff) file, which can be found in
<root>\classic\resources\fonts\SkylineTheme-Icons\SyklineTheme-Icons.woff
These icons are referenced by the html file in the following location:<root>\classic\resources\fonts\SyklineThemeIcons.htmlYou can replace the original .woff file with a modified one containing new icons or change the declaration in the html file.
Restart the NI WebServer and delete your browser cache to see the changes.
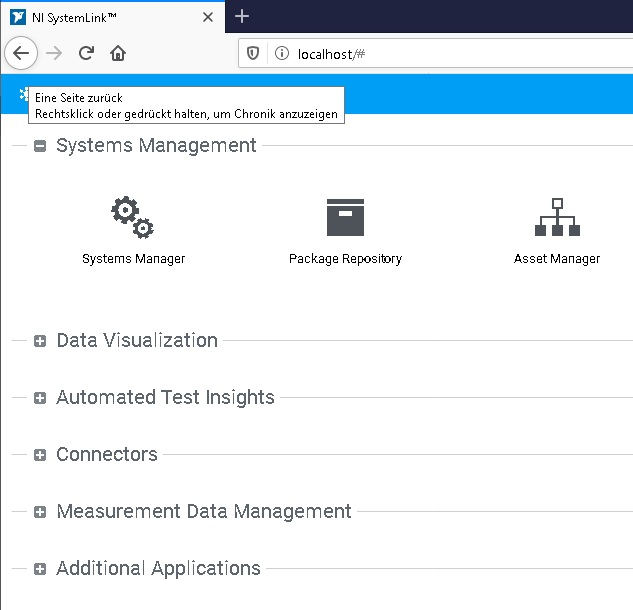
By default, the SystemLink Server is organizing each plugin into several groups. Per default, all custom plugins are showing up in the "Additional Applications"
group. You can modify plugin positions, and create new groups with the following modifications:
Navigate to
<root>\groupswhich contains the data for each group. The config file in each group folder declares which plugins are associated to it.
The ID's of the default SystemLink plugins are listed in the table below:
ID's of the default SystemLink plugins| Name | ID |
|---|
| systemsmanagement | Systems Manager |
| packagerepository | Package Repository |
| assetmanager | Asset Manager |
| alarmsnotifications | Alarms and Notifications |
| dashboardbuilder | Dashboards |
| fileviewer | File Viewer |
| tagviewer | Tag Viewer |
| datanavigator | Data Navigation |
| dataanalyzer | Data Analysis |
| testmonitor | Test Monitor |
| cloudconnector | Cloud |
| opcviewer | OPC UA |
| dataplugins | Data Plugins |
| preprocessor | Data Preparation |
| datafinder | Data Indexing |
| analysisserver | Analysis Automation |
For custom plugins and the Jupyter Notebook you need to add an ID to their config file
<root>\plugins\xxx\config.json"id": "jupyter"After this step you can use each id to add all your custom plugins to existing or new groups.
After having completed the above steps, restart the server and empty the browser cache.
To create additional groups, simply create a new folder in
<root>\groupsand copy the content from one of the default groups into the new folder. You then need to modify variables in
<root>\groups\xxx\config.json and
<root>\roups/test/resources/json/locales/xxx/systemlink-server-common.json:config.json:
- "id": "Newgroupname"
- "titleToken": "Newgroupname.group.title"
- "tooltipToken": "Newgroupname.group.title"
systemlink-server-common.json:
- {
"Newgroupname": {
"group": {
"title": "Plugin Name"
}
}
}
After having completed the above steps, restart the server and empty the browser cache.