Getting Started
To begin, you will need the new 9163 firmware image and NI-DAQmx 8.9 (or later). Once installed on the device, you do not need MAX or NI-DAQmx to configure your network settings.
Step-by-Step Installation Guide
-
Download the Web Configuration Utility from NI Labs and unzip the contents to a temporary folder.
-
Run the setup.exe file and accept the license agreement(s).
-
Complete the installation wizard. No reboot is required.
-
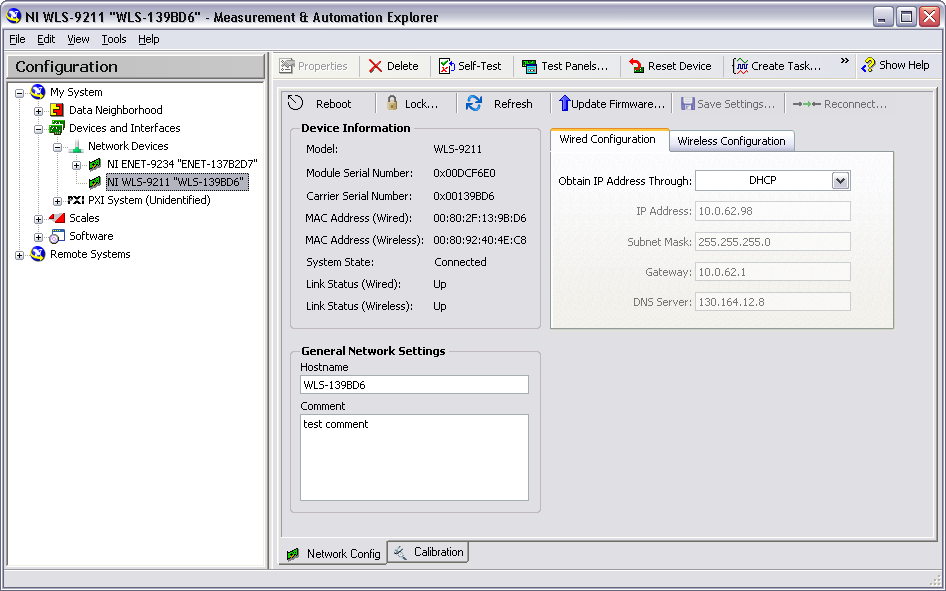
Launch Measurement & Automation Explorer and select your WLS-9xxx or ENET-9xxx device from "Devices and Interfaces" If you have not added or configured your device yet, please refer to the NI WLS/ENET-9163 Getting Started Guide .
-
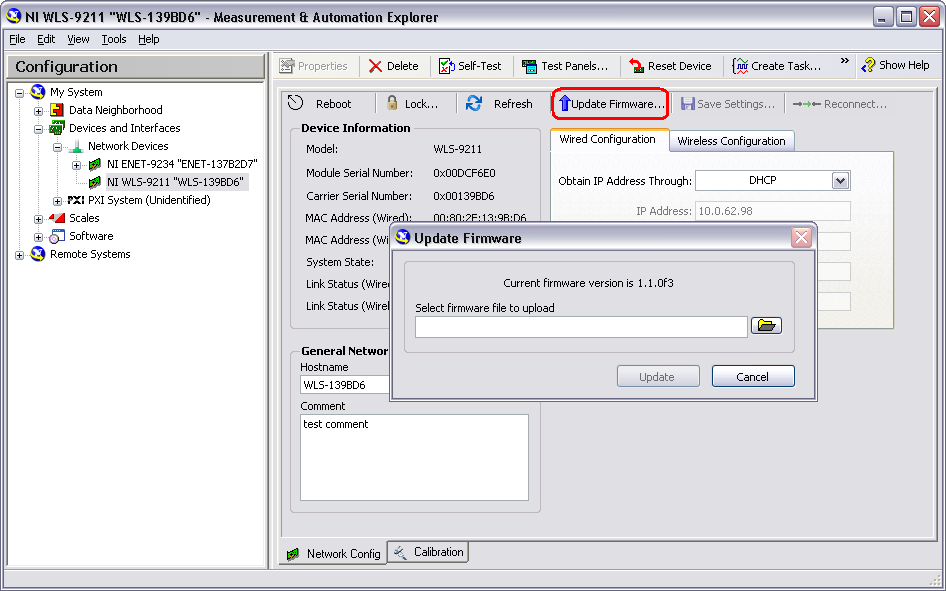
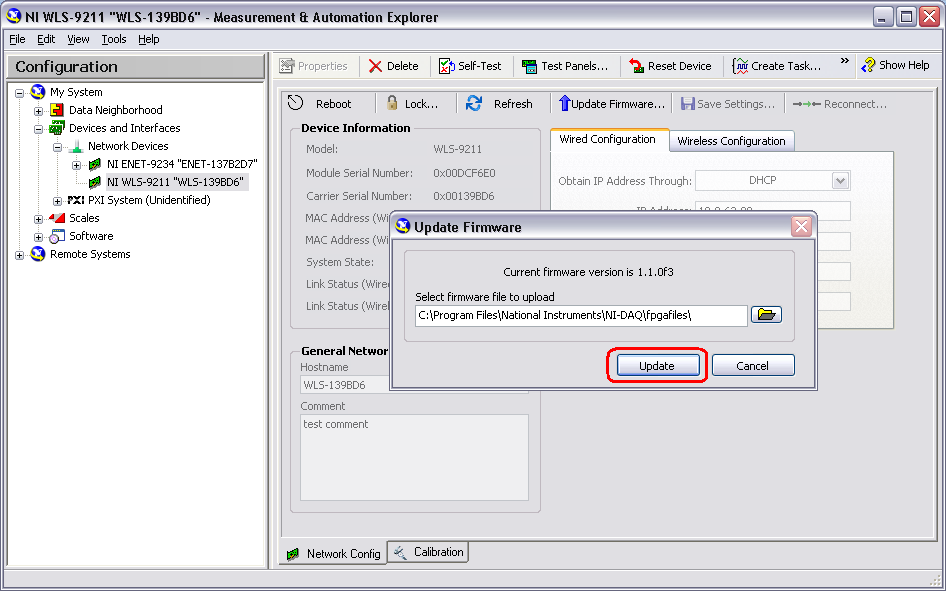
Click the "Update Firmware" button
-
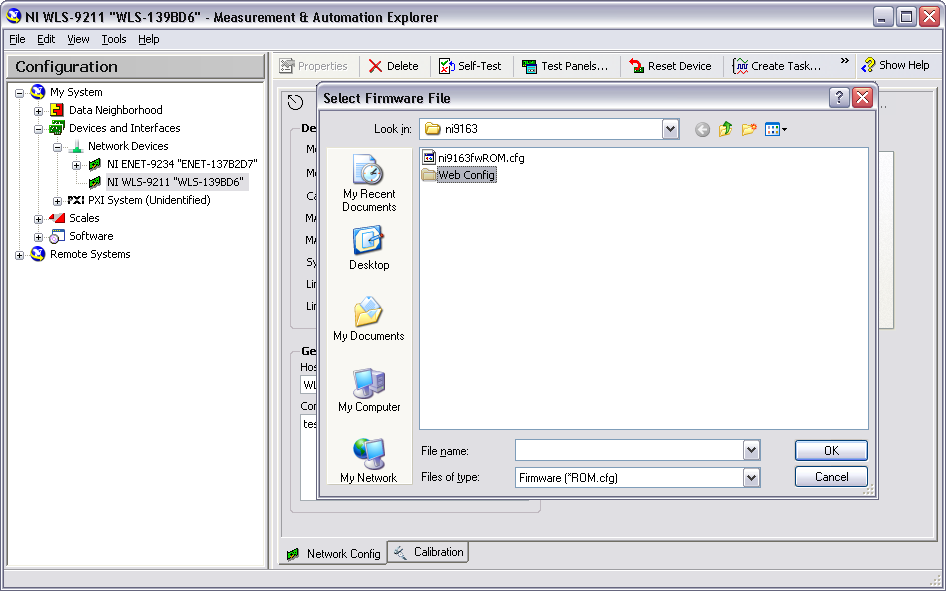
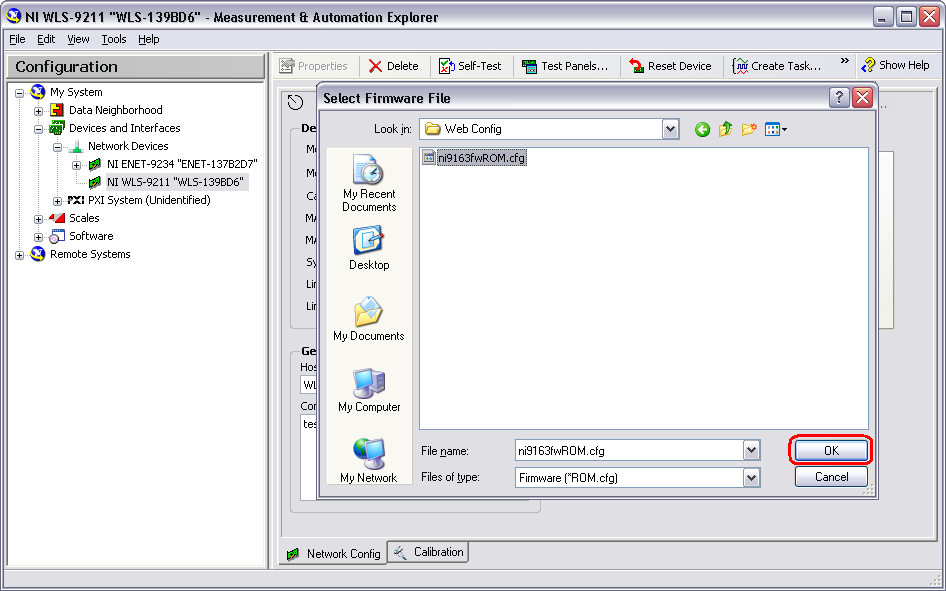
Click the folder button. The file dialog will default to C:\Program Files\National Instruments\NI-DAQ\fpgafiles\mionetwork\ni9163 Browse to the "Web Config" folder
-
Select the xxxxxxx.cfg file and click OK
-
Click the "Update" button
-
The firmware update process may take several minutes to finish. When it is complete, the WLS/ENET-9xxx will reboot. You may need to refresh the screen in MAX (press F5) to verify that the reboot process is complete.
-
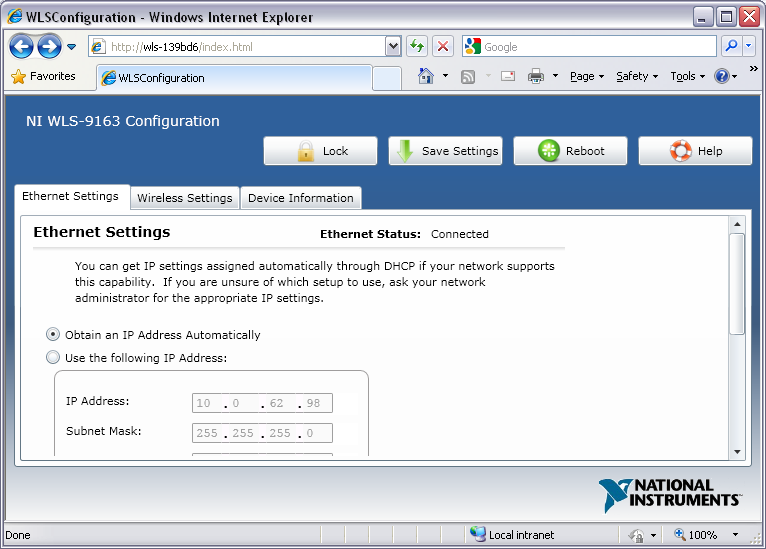
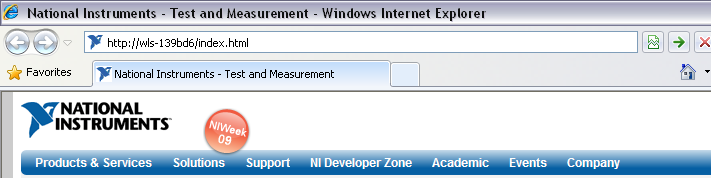
Open a web browser and type "http://WLS-xxxxxx/index.html" into the address bar. If your network’s DHCP server is not set up to automatically register hostnames, you may have to enter the IP address instead of the WLS-xxxxxx or ENET-xxxxxx hostname; for example, "http://xxx.xxx.xxx.xxx/index.html". Check with your network administrator if you are unsure of the IP address for your device.
-
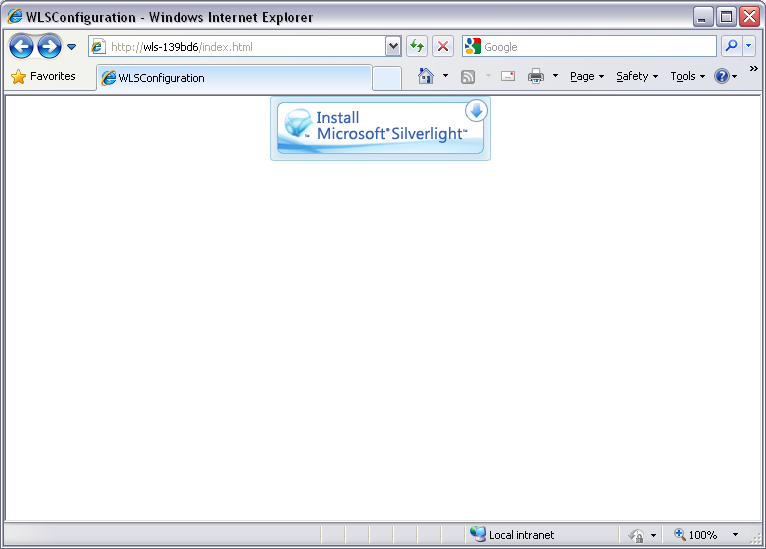
If you have the Silverlight plugin already installed for your broswer, skip to step 12. Otherwise, you will see a screen similar to the one below.
-
Click the "Install Microsoft Silverlight" button and accept any warning messages from your browser.
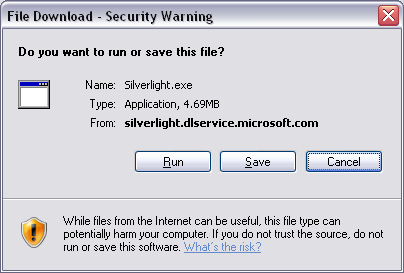
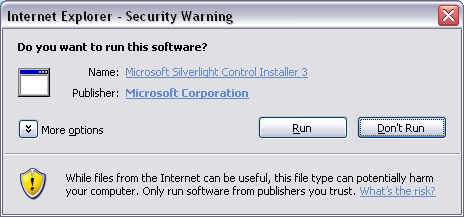
-
Click "Install now" to install the Silerlight plugin.

-
When the Silverlight installation is complete, you may need to refresh your browser (press F5). The Web Configuration Utility will be loaded as shown below.