To apply User Role and Permission settings, and therefore display a login page for static content, follow the steps below:
1. Refer to
Configuring User Permissions in NI Auth for LabVIEW Web Services and complete steps 1 to 11.
- These steps describe how to define security configurations for different Web Servers.
2. In LabVIEW, add a Web Service to the project.
- If the Web Service runs on the local PC, right-click My Computer and select New >> Web Service.
- If the Web Service runs on a real-time target, right-click the target and select New >> Web Service.
3. Add a HTTP Method VI to the Web Service.
4. Add static content to the Web Service.
- Right-click the Web Service in the LabVIEW project tree and select Add Public Content Folder...
- In the file explorer window, select the folder to associate with the static content. Note: the LabVIEW folder will auto-populate with the content of the local folder.
5. Configure the static content to use security permissions.
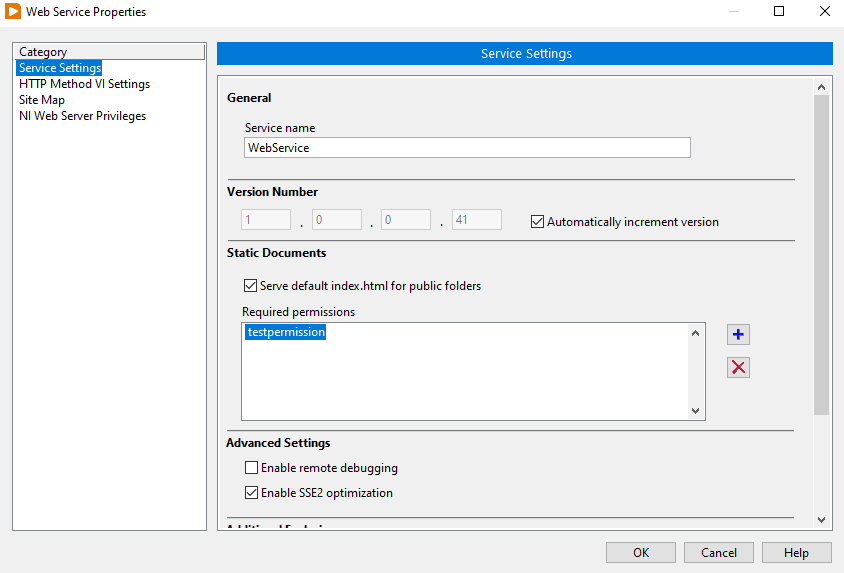
- Right-click the Web Service and select Properties.
- In the Web Service Properties window, navigate to the Service Settings tab.
- Under the Static Documents section, enter the name of the permission(s) configured in step 1 of this article.
- Press OK.

6. Publish the Web Service.
- Right-click the Web Service and select Application Web Server >> Publish.
7. Access the static content in a browser and verify that valid credentials are required.
- Expand the Public Content folder, right-click the static content file and select Show Public URL...
- Copy the URL and paste it in a supported browser.
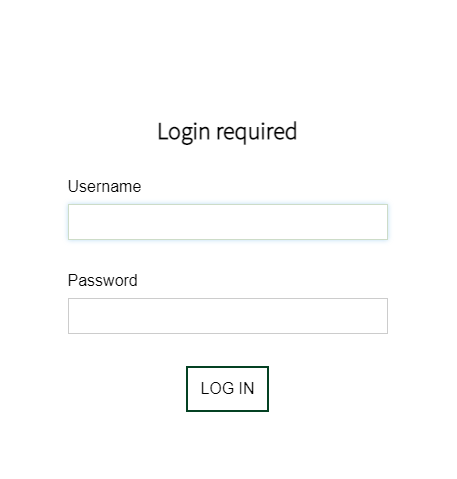
- Clients should be greeted by a login prompt similar to the image below. Note: the static content will only load correctly if the username and password match the list of approved users.
