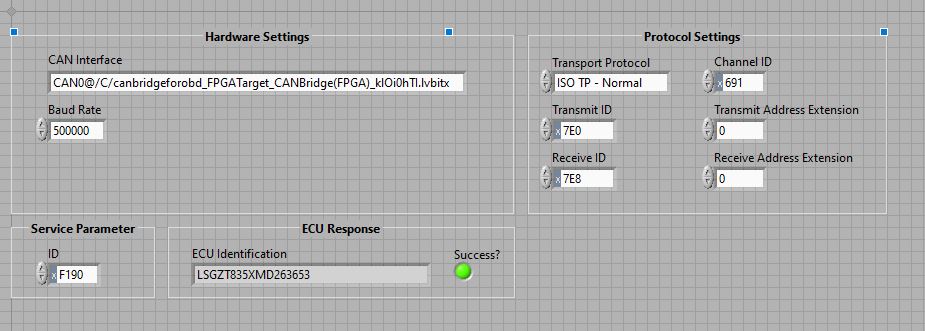
1. Open the CAN bridge LabVIEW project in <Program Files (x86)>\National Instruments\LabVIEW (version)\examples\Automotive Diagnostic Command Set\crio\CAN Bridge (FPGA).
2. Refer to the "Instructions" in the front panel of
CAN Bridge(FPGA).vi to configurate your project.

3. Transfer the bit file to the
C folder of CompactRIO target. Refer to
Using WebDAV to Transfer Files to Real-Time Target or
Tools Available for File Transfer/Access on NI Linux Real-Time Targets.

4. Open the UDS Read ECU Identification (cRIO) LabVIEW project in
<Program Files (x86)>\National Instruments\LabVIEW (version)\examples\Automotive Diagnostic Command Set\crio\\UDS Read ECU Identification (cRIO).Normally if we use PXI, PCI or USB CAN cards to do the UDS test, the input CAN Interface is CAN1 (if the CAN1 is used), but for CompactRIO with NI-985x application, the input CAN interface should be
CAN0@/C/canbridgeforobd_FPGATarget_CANBridge (FPGA)_klOi0hTI.lvbitx (Port name is
CAN0 as the
CAN Bridge (FPGA).vi communicates through
Mod1/CAN0).
5. Configurate the Hardware Settings, Protocol Settings and Service Parameter to work with your ECU, then run VI.
