Complete the following steps to discover your CompactRIO System in a LabVIEW project.
-
Create a new project in LabVIEW by selecting Blank Project under Recent Project Templates
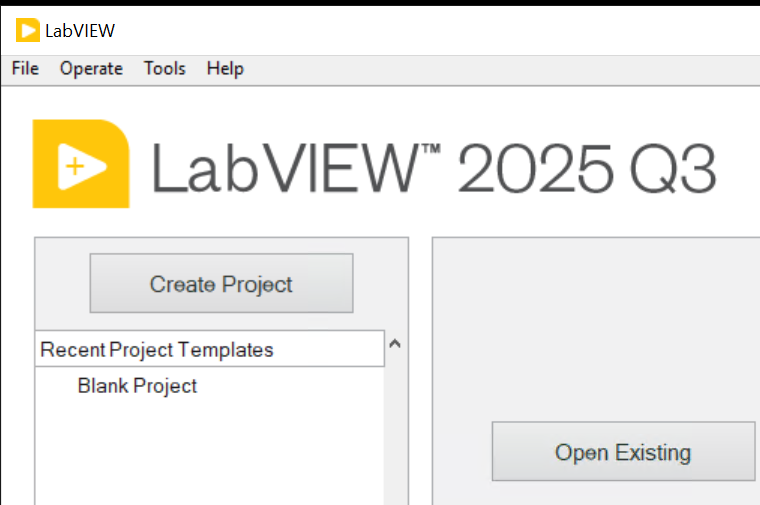
Figure 1. Create a new LabVIEW project.
-
Right-click the project root in the Project Explorer window and select New»Targets and Devices from the shortcut menu to display the Add Targets and Devices dialog box.
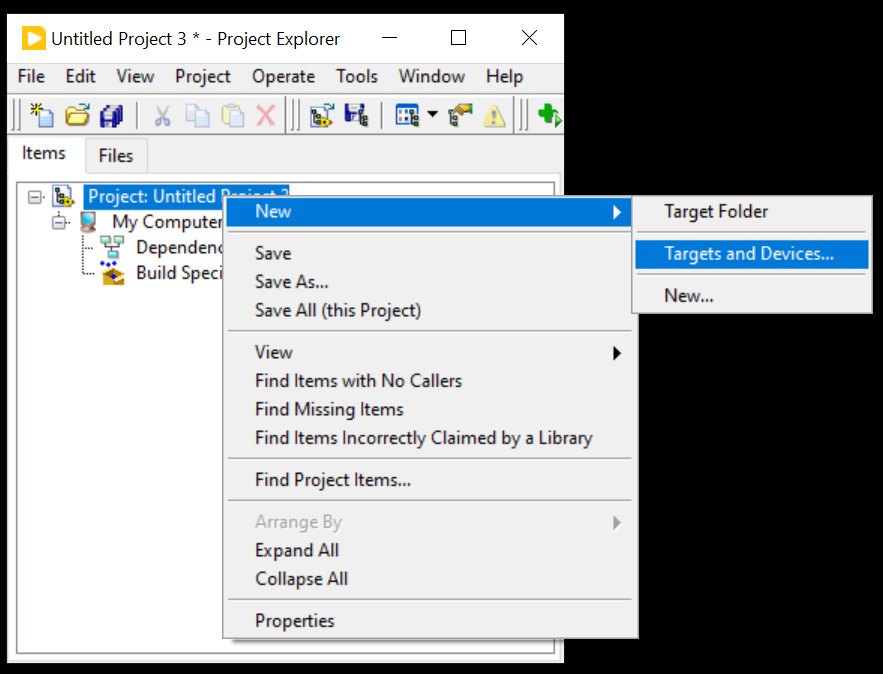
Figure 2. Open target selection menu
-
Select the appropriate device from the Targets and Devices list,
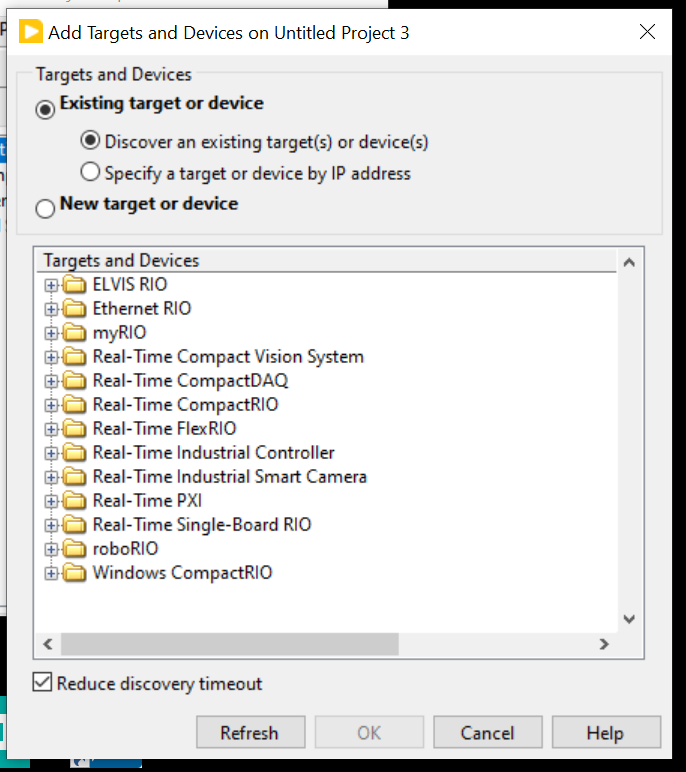
Figure 3. Target Selection Window
Note If you cannot find the appropriate device, you may not have configured it for your network using Measurement & Automation Explorer (MAX). Launch MAX and refer to the Remote Systems help. Select Help»Help Topics»Remote Systems to open the Remote Systems help file.
-
Click the OK button.
-
If the Select Programming Mode dialog box appears, select LabVIEW FPGA Interface or Scan Interface as appropriate.
-
Click the Continue button.
-
If the Discover C Series Modules? dialog box appears, click the Discover button.
-
Right-click a module in the Project Explorer window and select Properties from the shortcut menu to configure module-specific settings.
-
Repeat steps 2 through 8 to add an expansion chassis or additional expansion chassis to the project.