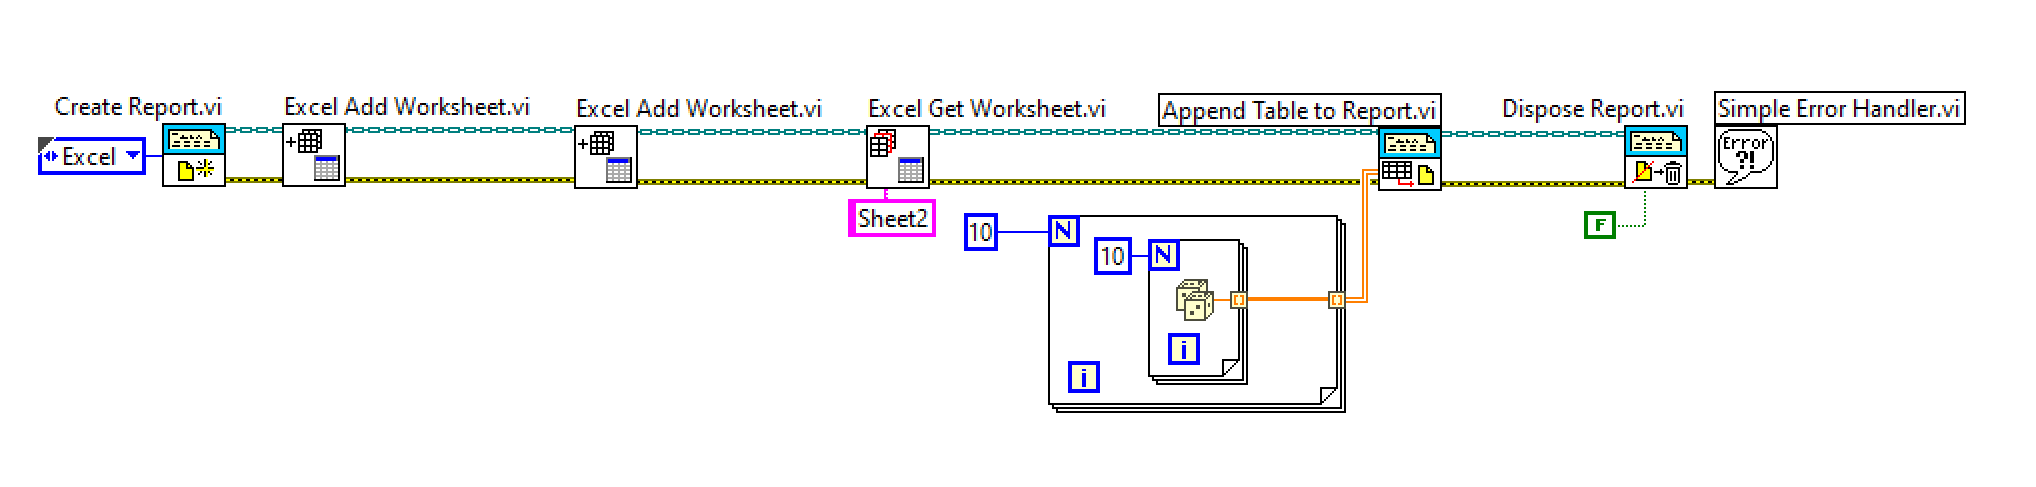
To insert to the beginning or middle of an Excel file:
- Configure LabVIEW to open an existing Excel file by using the New Report VI with Excel as the report type and the file path of your Excel file as the template. This will open your existing Excel file and any subsequent Report VIs will modify the existing file.
- To insert data at the beginning or middle of your file you need to first add new space in which to place the data. Use Excel Insert Cells VI to add new cells, rows, or columns to your Excel file depending upon the amount of data you will add. Select where the new cells will be placed and then use other Report VIs to insert your data into this space.
- Use the same start values used for the Excel Insert Cell VI for the start position input terminal of the VI you will use to insert the data. For example, if you used the Excel Easy Table VI, you would wire your desired start values to the Start (0,0) terminal. In this example a 2D string array is being written as data via the Excel Easy Table.vi.
To append to the End of an Excel file:
- Configure LabVIEW to open an existing Excel file by using the New Report VI with Excel as the report type and the file path of your Excel file as the template. This will open your existing Excel file and any subsequent Report VIs will modify the existing file.
- You can programmatically append data to your existing Excel file by first using the Excel Get Last Row VI to get the position of the last row and column in the Excel file. This VI will return a cluster that includes the position of the last row and column.
- Use an Unbundle By Name function to extract the Position of the last row and column from this cluster.
- Use this Position as the input start position for the VI you will use to insert the data. For example, if you used the Excel Easy Table VI you would wire this Position to the Start (0,0) terminal.
To write to an Excel file each iteration of a loop:
- See Append Data to an Excel Document Every Iteration Using Report Generation Toolkit
Additional Information
You can also add additional functionality such as password protection using the
Save Report to File.vi.
You can specify the Excel sheet that you want to write using the
Excel Get Worksheet.vi.