Set Up your Custom Analysis
Multisim 12.0 supports custom analyses created in LabVIEW 2010 (and previous).
Multisim 12.0 features eight different built-in tools for custom analyses; users can include an unlimited number of analyses to fit their simulation needs. The following table lists the built-in analyses and examples of circuits users can evaluate.
Analysis Tool
|
Circuit Example
|
|
NI PXI-655x Waveform Generator
|
Modeling of NI PXI-655x waveform generator connectivity to ECL and TTL circuits
|
|
BJT Analyzer
|
Characterization of transistor SPICE models
|
|
Impedance Meter
|
Matching, complex I/O impedance, reflection of reactive circuits of high-frequency circuits
|
|
Microphone and Speaker
|
Signal processing of audio signals
|
|
Signal Analyzer
|
Gilbert cell mixer at IF stages
|
|
Signal and Streaming Generators
|
Binary weighted input digital-to-analog converter
|
In addition to the simulation analyses you automatically receive when installing the software, NI has provided more custom analyses to download and include in your simulation. Click here to download these custom analyses.
Installation of Analyses
-
Open Multisim and check the default location for the User LabVIEW instruments path under Options»Global Preferences as shown below.

-
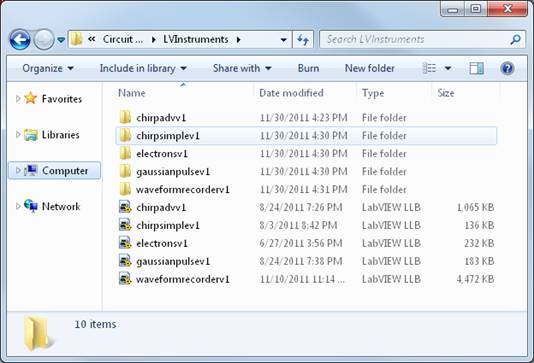
Download the LabVIEW .LLB and .DLL files of the analyses and save them under the folder specified in Multisim Global Preferences as shown below.
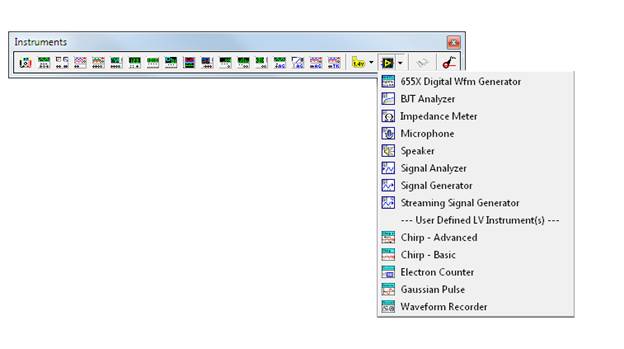
- Restart Multisim, and these tools should appear in the Instruments toolbar under LabVIEW Instruments as illustrated below.