Solution
By default, the XNET Ports will not be visible when working with drivers prior to
CompactRIO 15.0, NI-XNET Module and cRIO setup. Refer
Do I Need to Compile a Blank Bitfile for NI-XNET in VeriStand for detailed information on the same.
A
Custom FPGA Bitfile must be compiled in order to use a NI 986x XNET module because the NI 986x XNET module doesn’t work in scan mode on the NI CompactRIO. Below are the steps that will need to be followed in order to successfully setup the NI 986x XNET Module:
1) Create a
Blank NI LabVIEW Project from the
Getting Started Dialog Box.
2) Right-click on the New project and Select
New>>
Targets and Devices: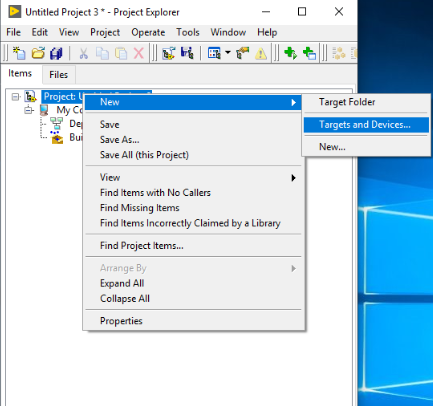
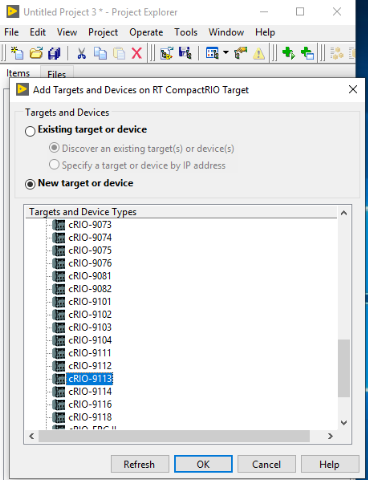
3) Select
New Target or Device. Expand
Real-time CompactRIO category and choose
cRIO-9025: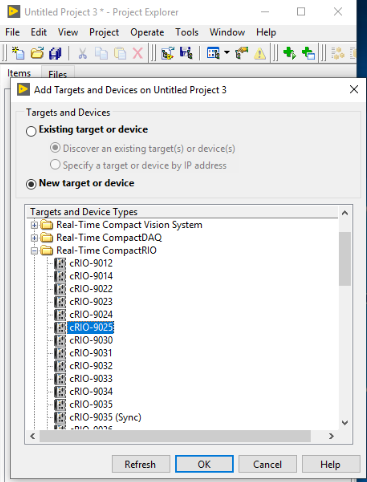
4) To add NI-9113 chassis as target, Right-click on the
RT-CompactRIO Target>>
New>>
Targets and Devices..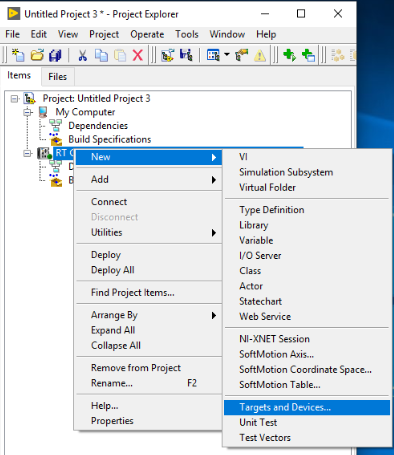
5) Check
New Target or Device option in the Dialog Box and select
cRIO-9113 from the available options:
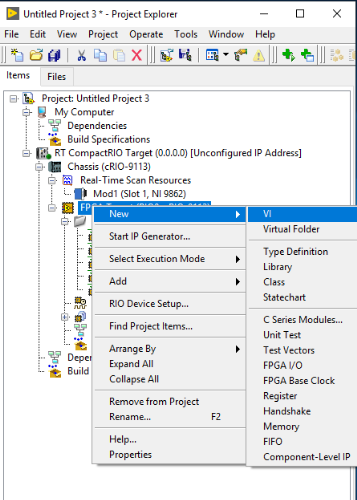
6) Add
NI-XNET 9862 Module under
Real-time Scan Resources. Right-click
Real-time Scan Resources>>
New>>
C series modules..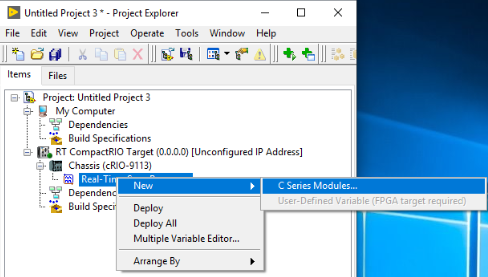
7) Select
NI 9862 from the
Type Dropdown:

8) Add a new FPGA Target under the Chassis. Right-click on
Chassis (cRIO-9113)>>
New>>
FPGA Target: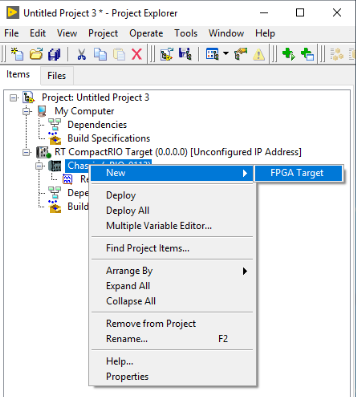
9) Since a
custom FPGA bitfile must be compiled, Right-click
FPGA Target>>
New>>
VI to create a new blank VI:
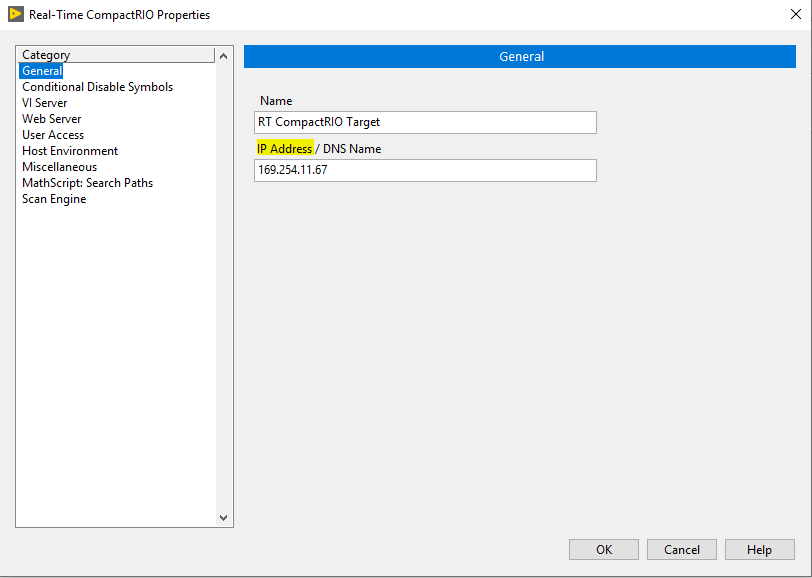
10) Right-click on the
RT-CompactRIO Target>>
Properties. Put the correct IP address (visible in NI MAX) under
General Category in
IP Address/DNS Name field:
11)Compile the Blank VI to generate the bitfile. Right-click on the
RT-CompactRIO Target>>
Deploy All: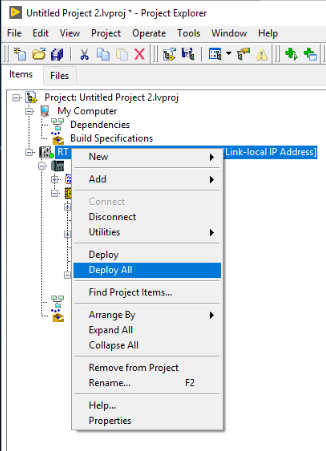
12) Expand
Build Specifications, Right-click on the build specification for the Blank VI and select
Download: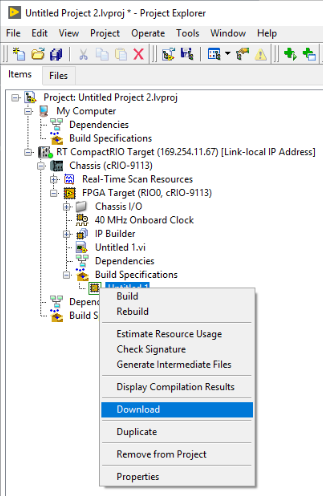
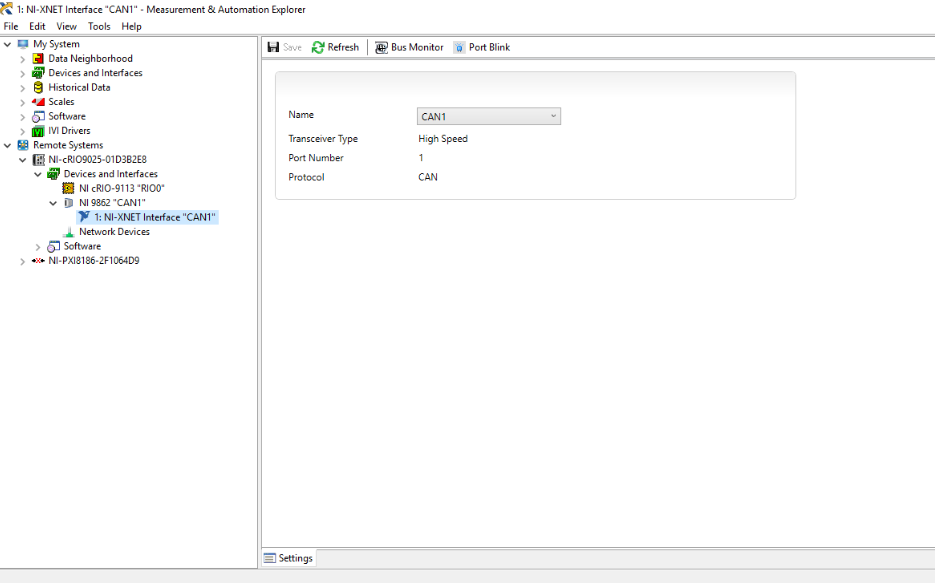
You will now be able to see the CAN Port in NI MAX: