Adding EtherCAT Device to LabVIEW Project Disables NI-DAQmx cRIO Modules

Updated Dec 18, 2023

Reported In

Hardware

  • cRIO-9040
  • cRIO-9041
  • cRIO-9042
  • cRIO-9043
  • cRIO-9045
  • cRIO-9046
  • cRIO-9047
  • cRIO-9048
  • cRIO-9049
  • NI-9144
  • NI-9145

Driver

  • NI-DAQmx
  • NI-Industrial Communications for EtherCAT

Issue Details

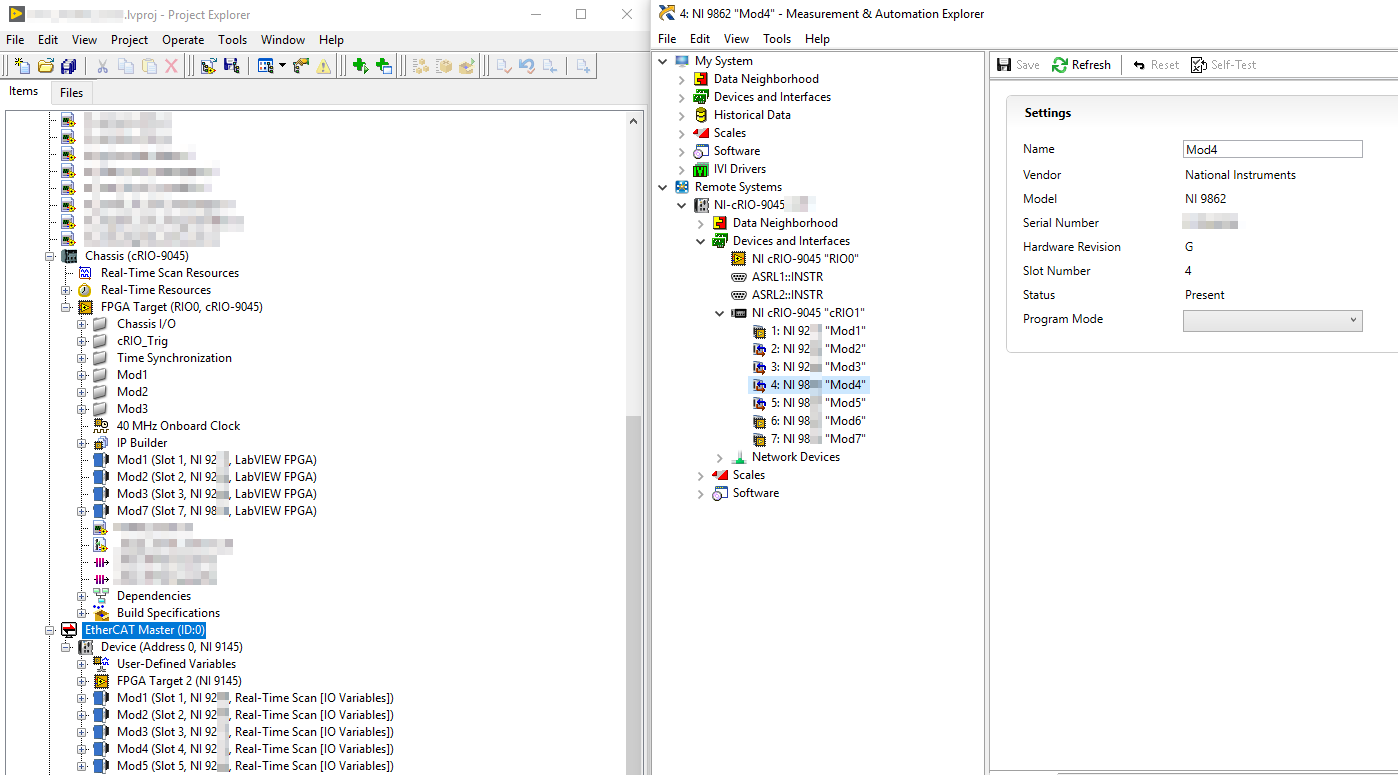
We have a LabVIEW project using a NI-DAQmx cRIO-904x that has two Ethernet ports. We want to use this device as EtherCAT master, therefore installed NI-Industrial Communications for EtherCAT on it.

Adding an NI-914x EtherCAT CompactRIO chassis to our LabVIEW project renders the modules in the cRIO-904x unusable. They simply stop working. It happens right after adding the EtherCAT device and using "deploy" in the LabVIEW project. How to fix this?

Solution

This is a Known Issue in the NI-DAQmx device driver version 17.6 and 18.0. Find more information on this issue here: Deploying an EtherCAT Master Changes the Programming Modes on cRIO-904x to Real-Time Scan (ID 706379).

Basically, the modules' Program Mode needs to be set again. This can be done either manually in NI Measurement & Automation Explorer (NI MAX), or programmatically using LabVIEW code.
  • To reset the Program Mode manually:
    1. Open NI MAX
    2. Navigate to Remote Systems » <your cRIO controller> » Devices and Interfaces » <your cRIO chassis>
    3. For every module present, click its entry on the left panel, then go to the right panel, and select a Program Mode. Click Save after selecting it.
 
  • To reset the Program Mode programmatically, please find the information given in the Solution section of this article: How Do I Set the Module Programming Modes On My CompactRIO? . VIs demonstrating the procedure are attached to the linked article. Find attached an example for setting the Active Mode from a 904x cRIO Master having DAQmx modules (code provided as is).

Additional Information

Another possible issue could be a disabled distributed clock on the slave device. To enable it, find the EtherCAT device in your LabVIEW project, right-click it and click Properties. Then navigate to EtherCAT:Advanced:Distributed Clock, check Enable distributed clock, and click OK: