Error 16 at Code Sign API When Digitally Signing a LabVIEW-Built Executable

Updated Dec 11, 2023

Reported In

Software

  • LabVIEW Application Builder Module

Issue Details

I am trying to digitally sign my executable from the Windows Security category in the LabVIEW Application Builder Module. However, when I do this, I get the following error:
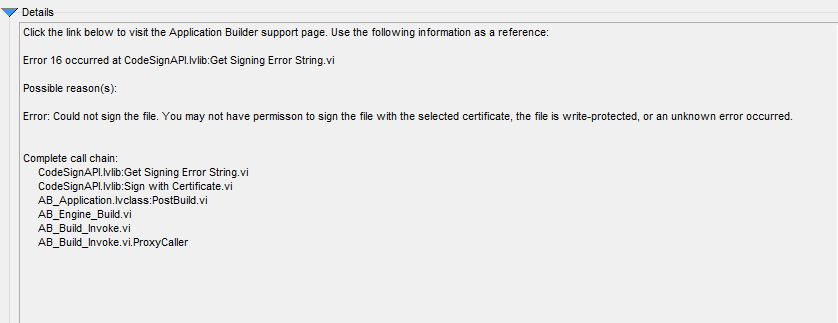
Error 16 occurred at CodeSignAPI.lvlib:Get Signing Error String.vi


I have registered my certificate and can select it from the Certificate drop down menu. I have also provided a valid Timestamp URL. How do I resolve this error?

Solution

This error can occur for the following reasons:
  • Make sure you have not registered a certificate from a file format other than the PFX file format. If you did, please contact the company that you purchased the certificate from and they should have a tool that allows you to convert your current certificate to one in the PFX file format, or provide you with a new PFX digital certificate. 
Once you have a PFX certificate, complete the following to digitally sign your EXE:
  1. Double-click the PFX file to open the Certificate Import Wizard.
  2. Follow the dialog and check options based on your requirements.
  3. When you have the option to choose a Certificate Store, place it in the Personal folder. (See image below)
  1. After the certificate has been successfully imported, open the build specification for your EXE.
  2. Choose your certificate from the Certificate dropdown menu and enter the Timestamp URL.
  3. Finish configuring your build specification.
  4. Click build.
  5. Your EXE should now be successfully signed.
  • This error can also occur if you have multiple certificates installed on your PC. If possible, uninstall all certificates and leave only the one that will be used by the LabVIEW Application Builder Module. To check if the LabVIEW Application Builder Module is detecting more than one certificate, do the following:
    1. Go to the Build Specifications properties.
    2. Navigate to the Windows Security tab.
    3. Display the options under the Personal store certificate section.