1. First, open NI MAX by going to Start » Programs » National Instruments » Measurement & Automation.
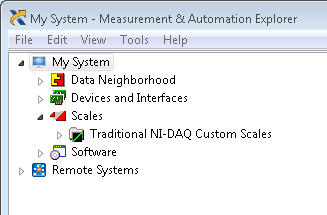
2. Once NI MAX has opened, find the Scales branch, which is found under My System in the Configuration tree:
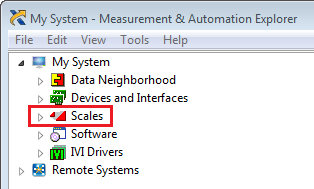
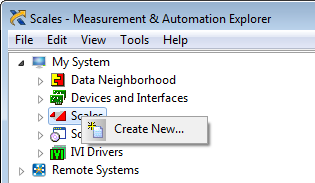
3. Right-click on
Scales and select “
Create New…”
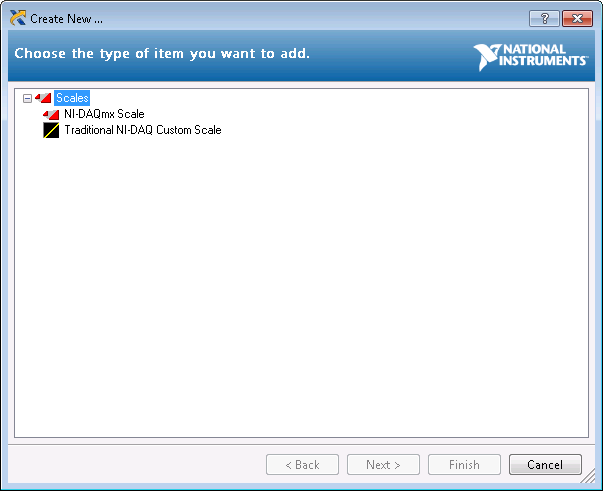
4. A menu will display prompting you to choose whether to create an
NI-DAQmx Scale or a
Traditional NI-DAQ Custom Scale. Choose the one you want to create and click
Finish.
 For NI- DAQmx:
 5. After selecting
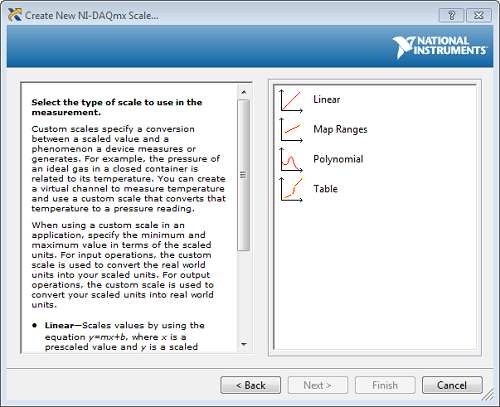
NI-DAQmx Scale, another menu will appear to allow you to choose the type of scale to create. The example images below follow the creation of a Linear Scale.
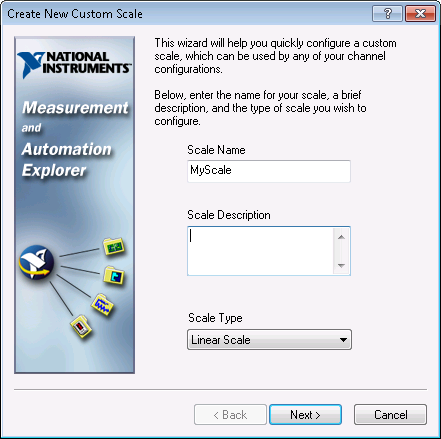
6. Next, you can choose a name for the Custom Scale and click
Finish. After clicking finish, you will be returned to the main view of NI MAX, with the center pane displaying the settings of your new Custom Scale.
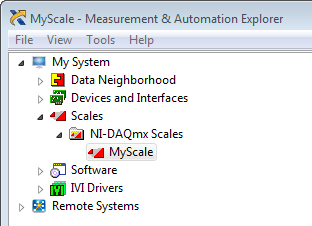
7. The scale is also now listed under the
NI-DAQmx Scales Folder.
 For Traditional NI-DAQ:
 After selecting
Traditional NI-DAQ Custom Scale, another menu will appear to allow you to choose the type of scale to create. The example images below follow the creation of a Linear Scale.
After naming the Custom Scale and selecting the type, click
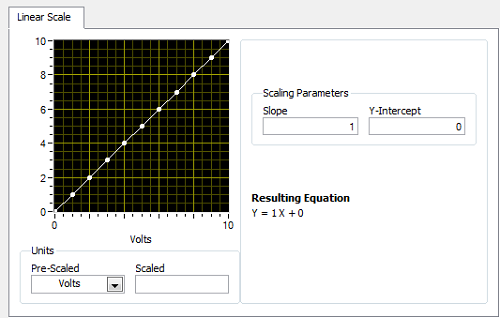
Next>. The following menu allows you to configure the Custom Scale.
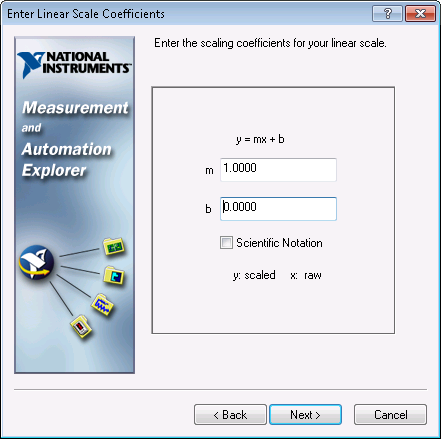
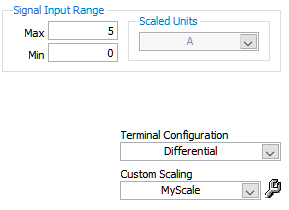
Once you’ve configured the scale to your liking, you can view it in graph form and set the range of raw input values of the NI-DAQ device to be scaled.

The scale should now be listed under the
Traditional NI-DAQ Custom Scales folder.
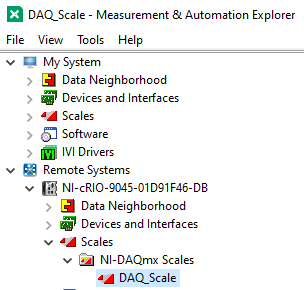
 Create a NI-DAQmx custom scale to use at the "cRIO" level:
1. First, open NI MAX by going to
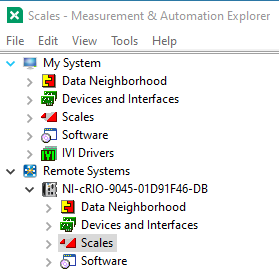
Start » Programs » National Instruments » Measurement & Automation. 2. Once NI MAX has opened, find the
Scales branch, which is found under NI
cRIO in the Configuration tree:
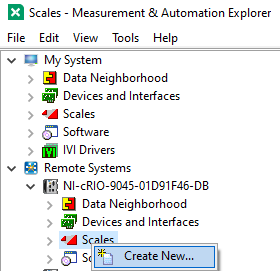
3. Right-click on
Scales at the
NI cRIO level and select “
Create New…”.
4. Repeat the above mentioned steps 4 to 6 to create the desired scales.
5. The scale is also now listed under the NI
cRIO Scales Folder.
Additional Information
If the conversion formula provided by your sensor's datasheet cannot be performed with the functionality available in a custom scale, you can implement your scaling and conversion after acquiring your data in your program.
When using custom scaling in a Task the Signal Input Range is specified in the newly created Custom Scaling.