OPC Quick Client only connects to OPC DA servers. In order to connect to the OPC UA Servers with OPC Quick Client, you must use another OPC Server to be a bridge between the OPC UA server and OPC Quick Client. The instructions below are for NI OPC Servers.
- Open NI OPC Servers Configuration.
- Select File»New. In the dialog box that appears, choose Yes, Update.
- Select Click to add a channel and click Next.
- Select OPC UA Client as the Device Driver.
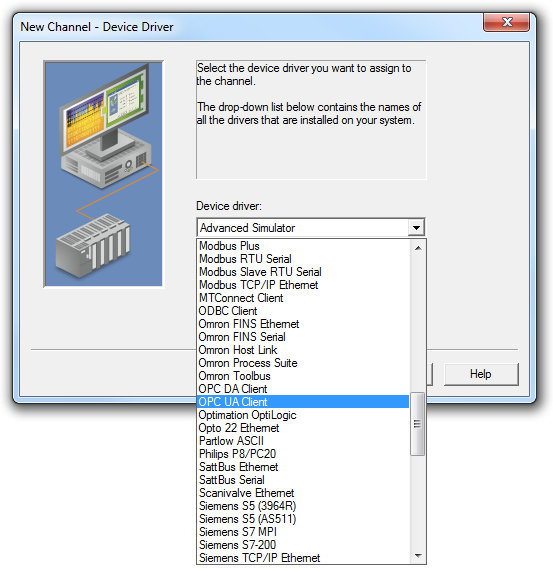
- Click Next twice.
- Provide your endpoint URL in the format opc.tcp://<IP Address>:<port> where <IP Address> is the IP address of the computer where the OPC UA server is hosted and <Port> is the port of the OPC UA server. When using the OPC UA server VIs, the port can be found as the TCP Port input of Connect VI. By default, it is 49580.
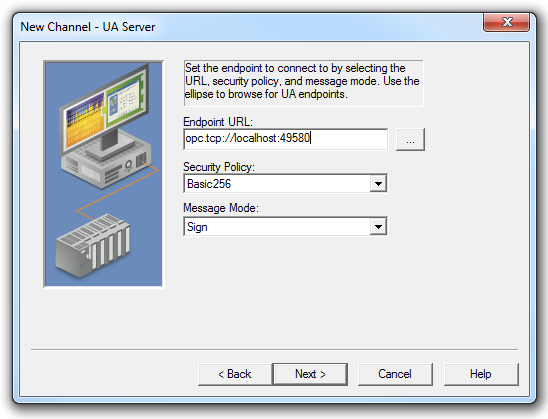
- Set the Security Policy to the necessary settings.
- Click Next twice.
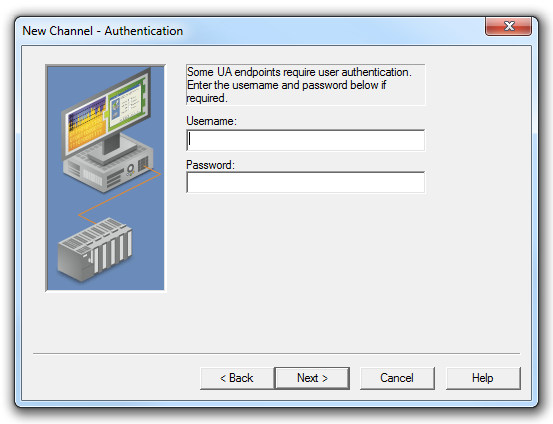
- Provide username and password information as necessary. Push Next then Finish.
- Select Click to add a device and push Next seven times.
- On the Import screen, choose Select import items.
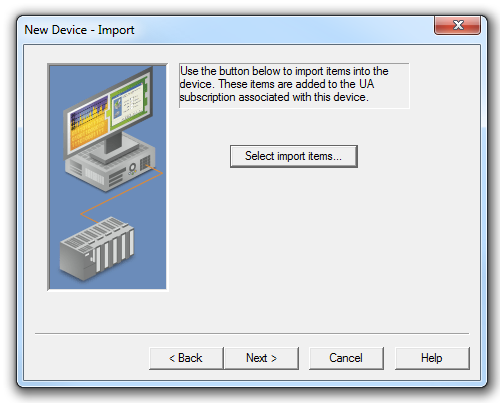
- Expand your OPC UA server endpoint, click the nodes you want to monitor, and select Add Items.
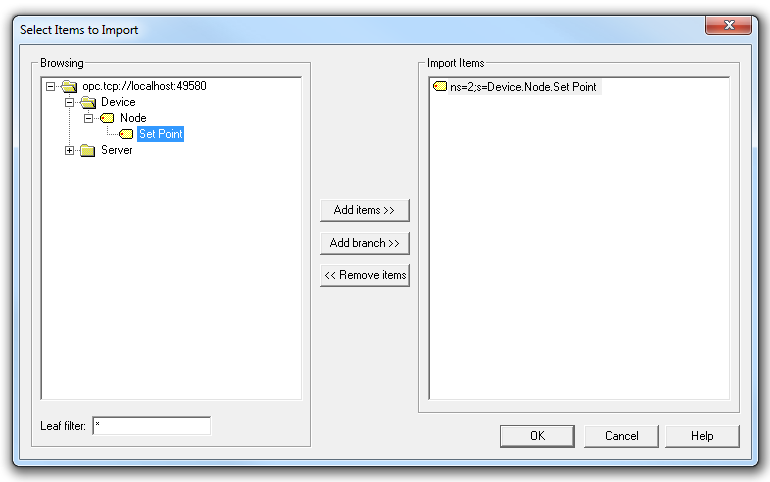
- Click OK, then Next, and Finish to close the wizard.
- Select Tools»Launch OPC Quick Client.
- Navigate to your nodes within OPC Quick Client.