FPGA files are usually deployed to an EtherCAT chassis using File over EtherCAT (FoE). Usually the generation of the FoE file is handled by the cRIO; however, this can be done manually using the attached project. Although this article specifically references a TwinCAT master, the FPGA bitfile and FoE file generation will be common for any master. For full steps on how to setup your system see the instructions below.
1. Generating your FPGA
- Create a blank LabVIEW project.
- In the Project Explorer, Right-Click your Project and select New>>Targets and Devices... then, in the popup that appears, select New target or device>>Real-Time Desktop.
- Similarly, add an Offline EtherCAT Master by Right-Clicking the RT Desktop Target and selecting New>>Targets and Devices...
- Now add your chassis to the project by Right-Clicking the EtherCAT Master, selecting New>>Targets and Devices... ,then selecting New target or device>>EtherCAT Slave Device>>National Instruments>>NI cRIO EtherCAT Slave and finally selecting your EtherCAT Chassis.
- Finally Add the FPGA target to the project by Right-Clicking Device (the chassis that was just added) and selecting New>>FPGA Target.
- Your project should look like the below image:

You can now program the FPGA as normal by adding modules, programming the FPGA, and finally compiling the Bitfile.
2. Converting the FPGA Bitfile to an FoE file
- Download and open the attached project.
- Open Bitfiles2FoE.vi and run.
- Select the Bitfile you generated previously by selecting the file in the Input bitfile path control.
- Select your chassis in the right-hand menu. Note: A manual selection has been added however we cannot guarantee it will function for all future chassis
- Click the OK button, if the process is successful the LED will illuminate and the generated file path will appear.
3. Deploying your FPGA Bitfile via TwinCAT
- Enable the network adapter targeting the EtherCAT slave on the system.
- Add "NI-914X-slots.xml" or "NI-9145-slots.xml" (depending on which chassis you are using) and the "Modules" folder into the "TwinCAT\<Version>\Config\IO\EtherCAT" folder
- Setup your TwinCAT project by adding an EtherCAT Master device and scanning for your EtherCAT Chassis.
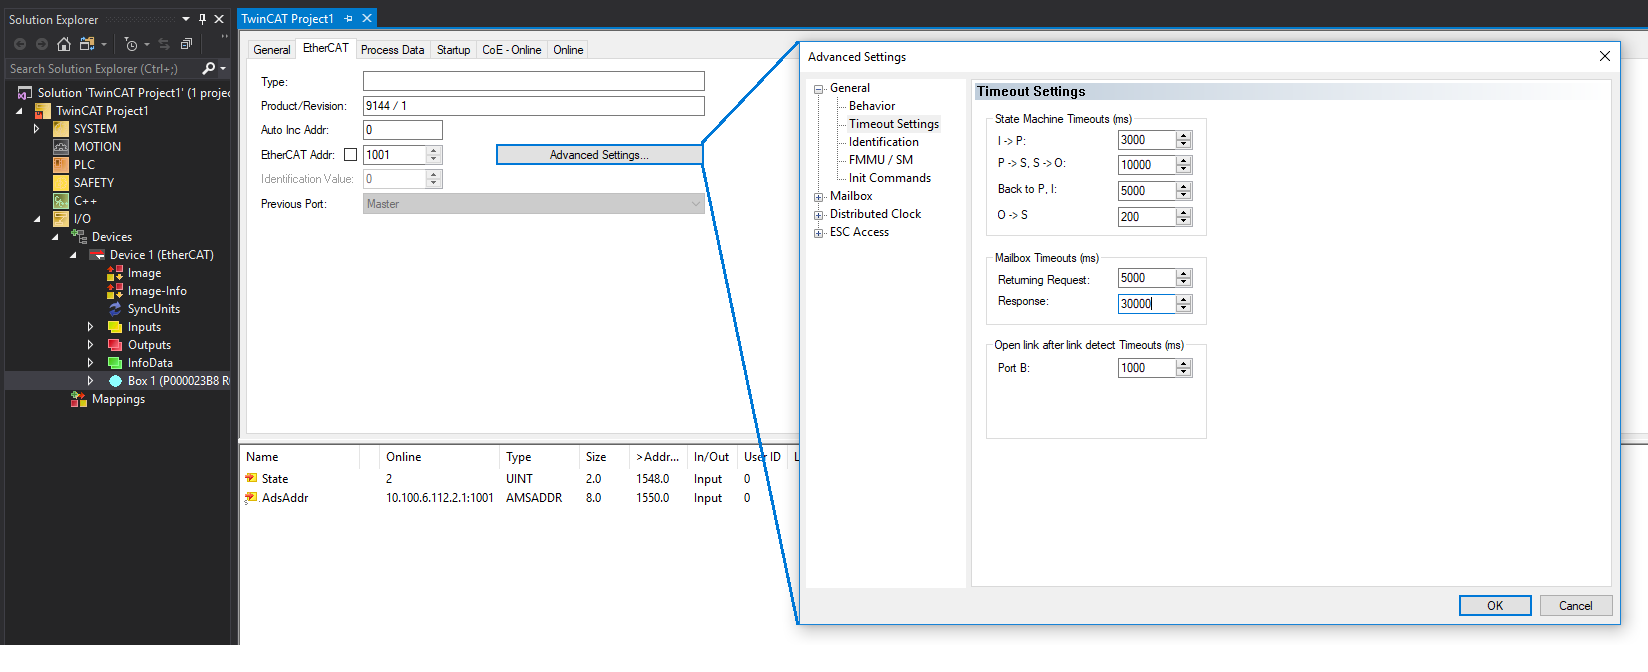
- Select your EtherCAT Chassis and open Advanced Settings under the EtherCAT tab.
- Select Timeout Settings and increase the Mailbox Timeout as shown below:
- Finally, download the FoE to the EtherCAT Chassis by selecting the Online tab, placing your device in Bootstrap mode and clicking the Download button.
- A file explorer will appear, select your FoE file. You may need to show all files using the drop-down menu in the bottom right hand corner.
- After the file is selected a window will appear detailing the file name, click the OK button to continue the download process.
Additional Information
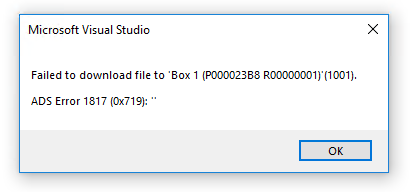
If you receive similar to the following error then it is likely the Mailbox Timeout settings have to further be increased. Increase the Returning Request and Response time until you do not receive the error. If the issue still persists check the connections between the devices.
Failed to download file to 'Box 1 (P000023B8 R000000001)'(1001).
ADS Error 1817 (0x719): ''
If you experience issues with the attached project or with this process contact NI support and reference this Knowledge Base article