Why I Get Failed to Connect to the myRIO Error over Wi-Fi?

Updated Apr 4, 2023

Reported In

Hardware

  • myRIO-1900

Software

  • LabVIEW

Issue Details

When myRIO is connected over USB, LabVIEW deploys application successfully. But if myRIO is connected over Wi-Fi, I get failed to connect to the target error.

Solution

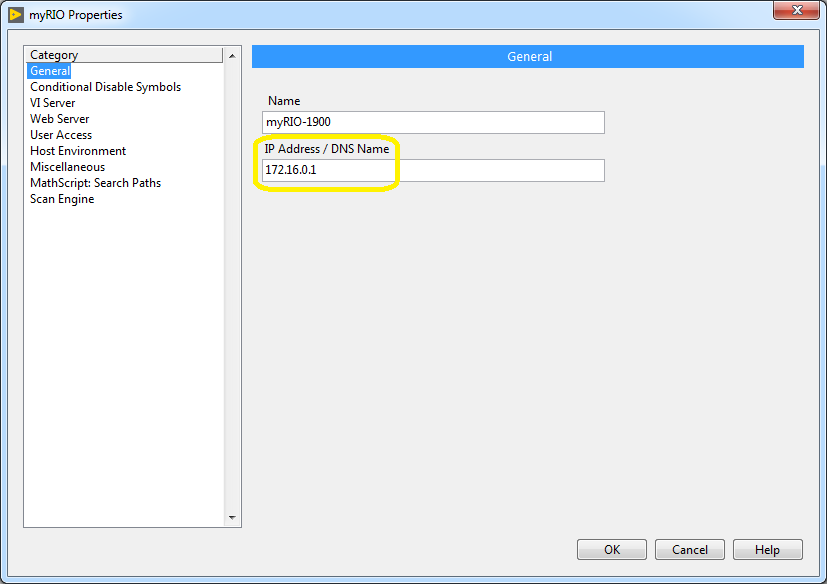
In order to resolve the problem you need to define a correct IP Address of myRIO in Project Explorer. By default, you should specify 172.16.0.1 IP Address instead of 172.22.11.2.
  1. Connect your PC to corresponding Wi-Fi network with myRIO connected to it
  2. Verify IP address of your myRIO
    1. Open Measurement & Automation Explorer (MAX) from the desktop or start menu
    2. Expand Remote Systems
    3. Select myRIO target
    4. Check an actual IP Address
  1. Change the IP address of myRIO in Project Explorer
    1. Go to Properties of your myRIO
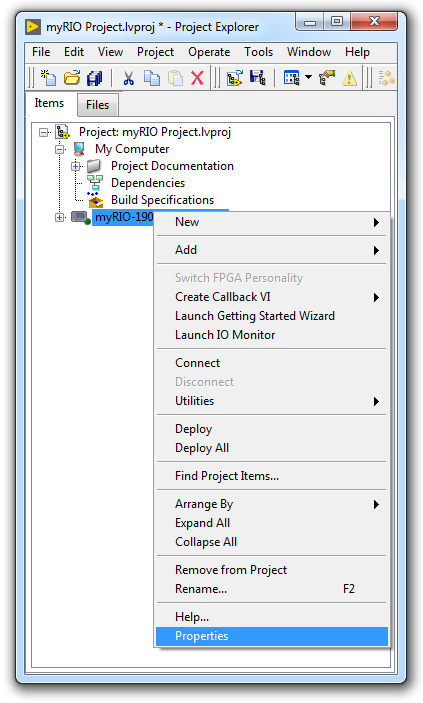
  1. Set IP Address from General Category to the IP Address from step 2 and click OK


After changing IP Address to correct one, you will be able to deploy application in LabVIEW.

Additional Information

By default, when you are connecting myRIO by USB, myRIO IP address is 172.22.11.2, but when myRIO is connected over Wi-Fi, the default IP address is 172.16.0.1. If you still have an IP address equals to 172.22.11.2 in your project, LabVIEW tries to find myRIO on the network with that IP address, but there is no such IP address in this Wi-Fi network, so that is why you get failed to connect to the target error.