The process of installing a VLI can be broken down into two sections:
- The first section involves running the installer.
- The second section involves pointing the client computers to look at the server for a license.
These sections can be completed by following the steps below.
Run the Installer
The VLI consists of several folders and files. To install the software, navigate to the _Src directory. Inside this directory, there is an Install.exe that needs to be pointed to.
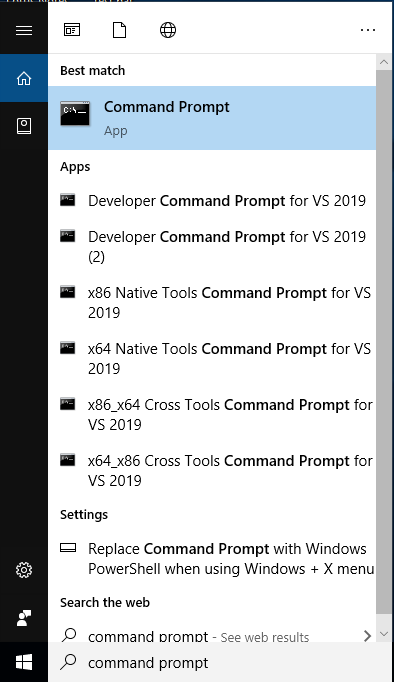
1. Open the Command Prompt by searching for "Command Prompt" in the Windows Start Bar, as shown.
- It may be necessary to run the application as an Administrator.
 2. Set your current directory to the location of the _Src folder within the VLI.
- This can be done by typing "cd" followed by the location of the _Src folder in the command line. For example: cd C:\<directory>\_Src
3. Run the following command to install software silently: start /wait Install.exe --passive --accept-eulas --prevent-reboot
- Note: in case the previous command does not work, use the following Install.exe --passive --acccept-eulas --prevent-reboot
Pointing the Clients to Look at the Server
1. Set your current directory to the location of the Client folder within the VLI.
- For example: cd C:\<directory>\Client
2. Run the following command to point to the server silently: vlmclient.exe /q