Additional Information
Setting your font size to
Large Fonts or
Extra Large Fonts will cause Windows to override and increase the font size of all applications, including those compiled with LabVIEW. This is expected behavior, and the formatting of your front panel may be affected. By keeping scroll bars on your application front panels, you ensure that the user can always scroll to reach front panel objects that may have been displaced due to font reformatting.
Also, double check to make sure the font you have used in the executables is on the deployment computer. The fonts that are loaded can be checked by navigating to
Start Menu»Settings»Control Panel»Fonts. If the font is not loaded, then copy it from the development computer and install it on the deployment computer. You can install new fonts by going to the fonts folder, and choosing
File»Install New Font.It is also important to note that the application font default in LabVIEW is set to the message box font in Windows.
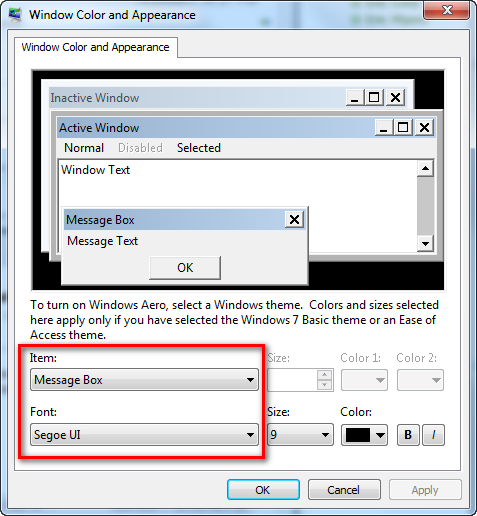
To check this in Windows 7, right click on the desktop and choose
personalize. Then select the
window color link at the bottom of the screen and then click on the
advanced appearance settings link. Select
Message Box in the item drop down menu. The font will display below.
 To check the message box font in Windows XP
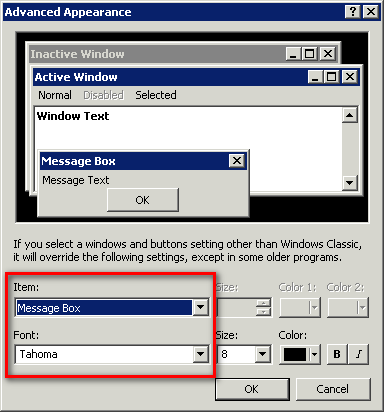
, right click on the desktop and choose
properties. Then select the
appearance tab at the top. Click the
advanced button. Select
Message Box in the item drop down menu. The font will display below.
 To check the message box font in Windows 8
, navigate to the
Display section referred to in the instructions for setting the font size, and select the
Message Box category of the drop-down menu.
In Windows 10, this option does not exist anymore.
To enforce the sizing of a single object, a numeric control for example, create a property node for the object. Select the
Numeric Text»Font»Size property, right click on the node and select
Change all to Write. Wire a constant with the correct font size to the node. This property node will enforce the specific font size on the target computer regardless of windows settings. Individual components can be fixed in this manner, but there is not a property that will set all the front panel control sizes to a fixed value simultaneously.