There is no way to change the model of the real-time target in the LabVIEW project. Instead, add a new target to the project by following the steps below.
1. Right-click
Project >>
New >>
Targets and Devices ...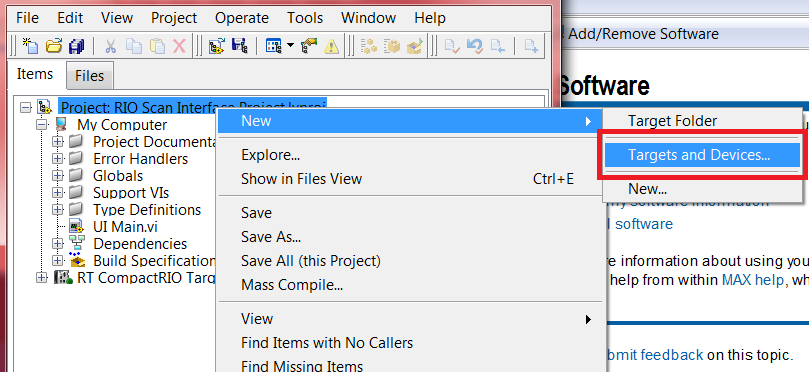
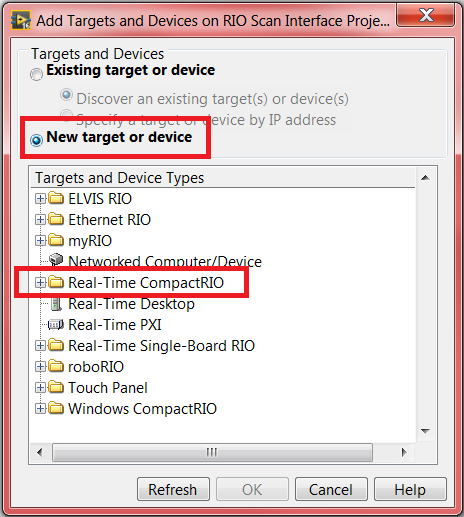
2. This will bring up a dialog. Select
New target or device and pick the relevant real-time target type.
3. Configure the target's IP address by right-clicking the target and selecting
Properties.
- If the IP address is unknown, it can be checked from NI MAX.
4. If an FPGA target is required, right-click the newly-created chassis >>
New >>
FPGA Target.
5. Drag all VIs, modules, FIFOs, etc. under the newly-created RT target.
Additional Information
It is better to add a new RT target using
New target or device instead of
Existing target or device if there are multiple targets of the same type that require code deployment. If a target is added using
Existing target or device, the RT target will be named according to the serial number of a specific device, reducing interchangeability.
File >> Save As >> Duplicate .lvproj file and contents can be used to create backups and different versions of your LabVIEW Real-Time project.