Solution
General Steps
- If your controller has both USB 2.0 and 3.0 ports, try each type of port with your USB drive.
- If using a utility USB drive, try using an external power source as the USB ports may not supply enough power.
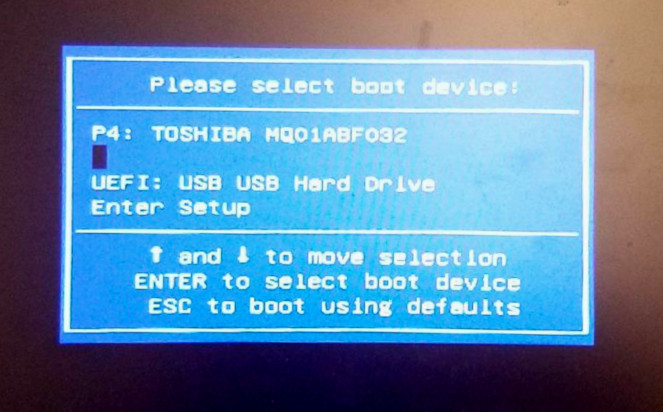
- In the boot menu, use arrow keys to identify any nameless entries, as your USB drive may appear in the menu without a name (see below).

Configuration for Real-Time Controllers
For Real-Time Controllers, BIOS settings need to be changed for the controller to boot from a USB drive. The steps to do this are outlined below:
- Turn off the PXI(e) RT controller.
- Press <Delete> as the controller starts up to bring up the BIOS. If you follow this step and you see a blank screen, press <F10>.
- In the BIOS, use the keyboard to navigate to the LabVIEW RT menu.
- Select Boot Configuration and set it to Windows/Other OS.
- Navigate to the Boot menu and set the utility USB drive to the highest boot priority order. This will make the controller boot from the utility USB drive upon a restart. If the utility USB drive does not appear in the BIOS, ensure it is formatted as FAT32 and enable Legacy USB Support under the Advanced tab.
Note: If you are using a PXI-8108, PXIe-8108, or 8110, do the following configuration changes from
this tutorial :
- Navigate to Advanced»SATA Configuration»SATA Mode Selection and select IDE
- Navigate to Advanced»USB Configuration and enable Legacy USB Support
- Navigate to Advanced»USB Configuration»Mass Storage Devices and select Auto
- Navigate to Boot»Hard Drive BBS Priorities»Boot Option #1 and select USB
- Navigate to the Exit menu and select Exit Saving Changes. Select Yes in the confirmation dialog box. The controller will reboot immediately after saving the new BIOS settings.