Conditional Logging with LabVIEW
Follow these eight steps to build a LabVIEW application that logs data during only a specified start and stop time.
-
Start with a basic measurement and data logging VI, similar to the one created in the Data Logging in LabVIEW tutorial.
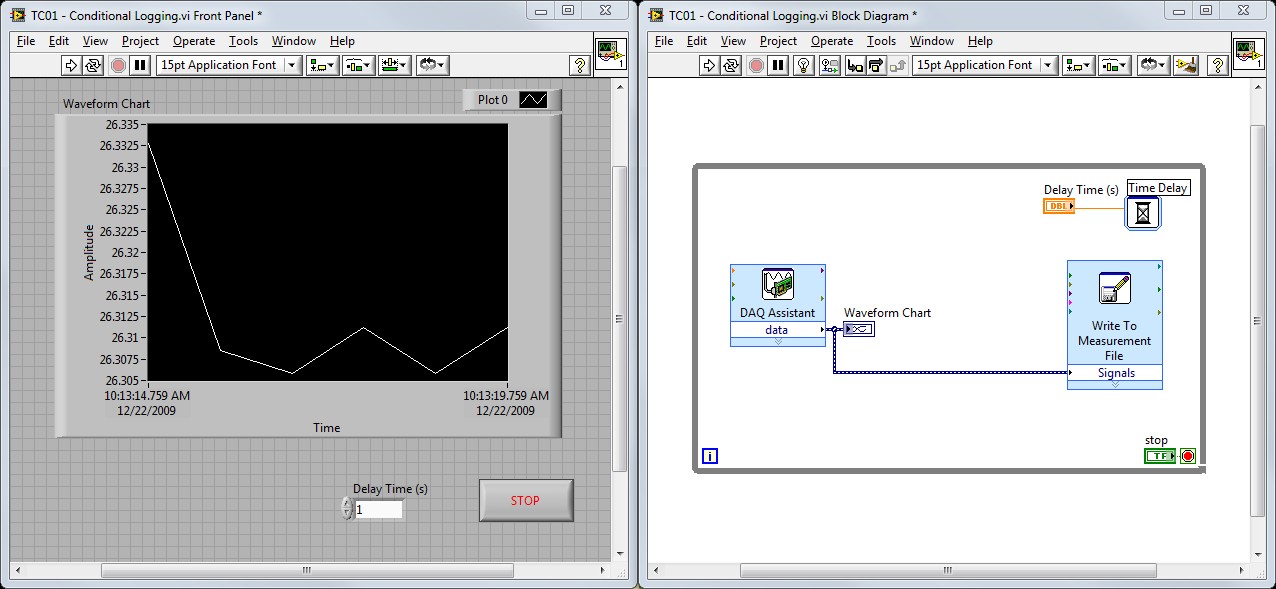
Figure 1. LabVIEW applications consist of a Front Panel (left) and Block Diagram (right). In each iteration of the while loop, the DAQ Assistant acquires one data point and passes it to the Write to Measurement File Express VI.
- Right-click on the Block Diagram, select Exec Control » Case Structure, and drag the Case Structure around the Write to Measurement File function.
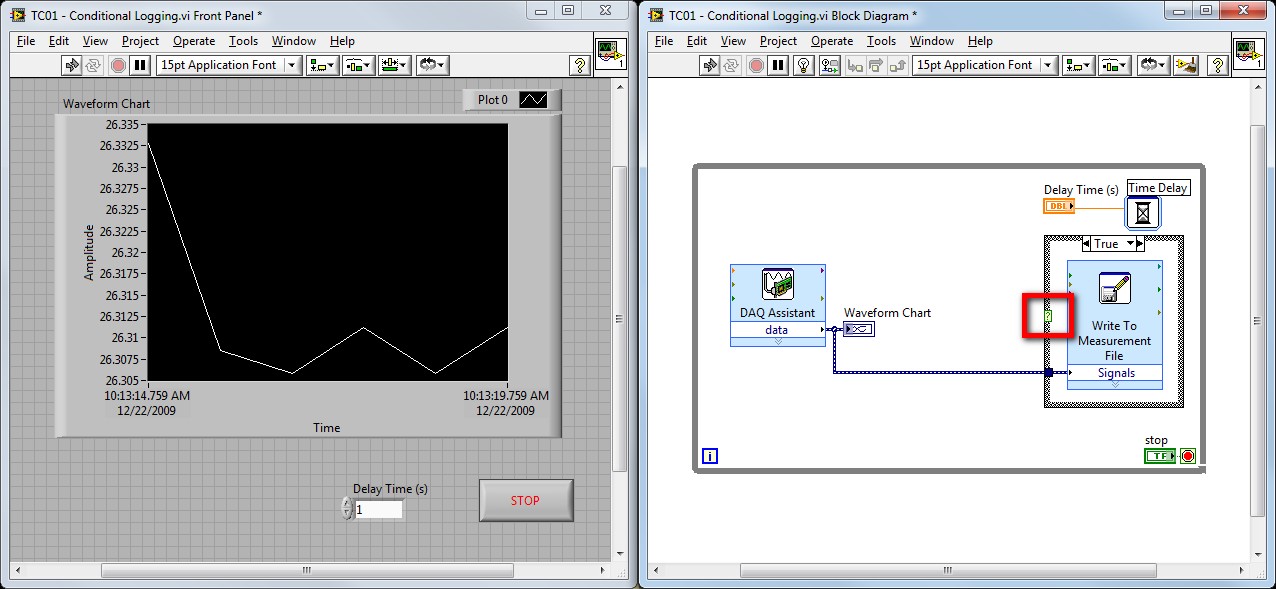
Figure 2. The code in the Case Structure executes only if the boolean condition at the Case Selector terminal is true.
-
To check the current time, you need functions outside of the basic Express palette. Right-click on the Block Diagram, click the arrows at the bottom to expand the palette, navigate to the Programming palette and pin it to the screen.
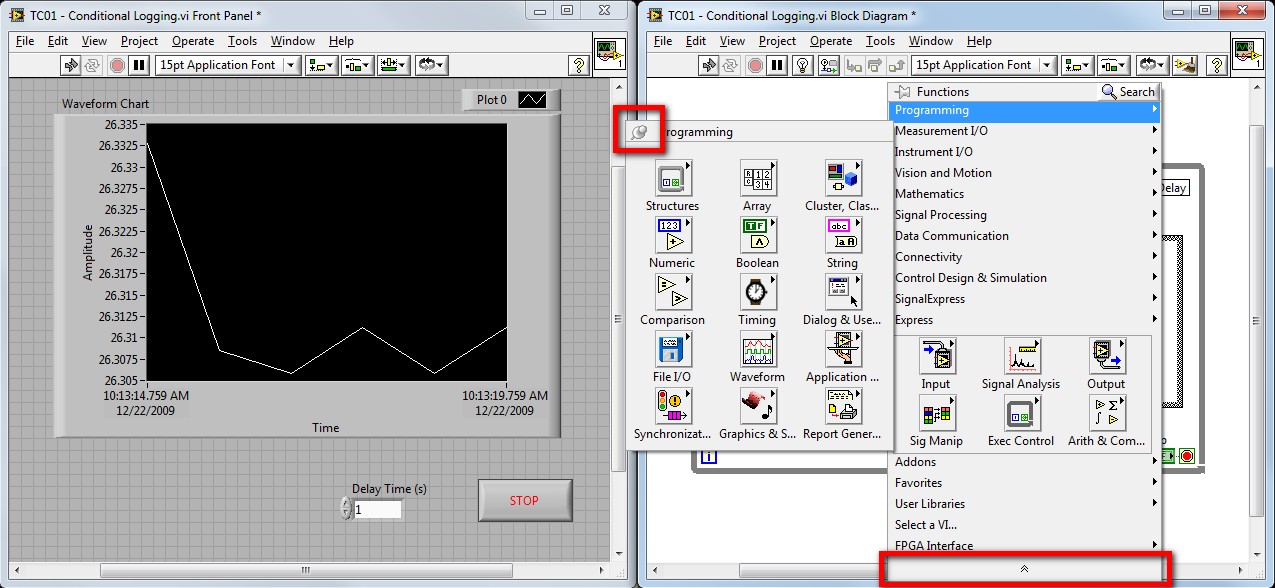
Figure 3. Expand the Block Diagram palette to see more functions outside of the basic Express palette.
-
Select Comparison » In Range and Coerce, place it on the Block Diagram, and wire the In Range? boolean output to the Case Selector terminal of the Case Structure.
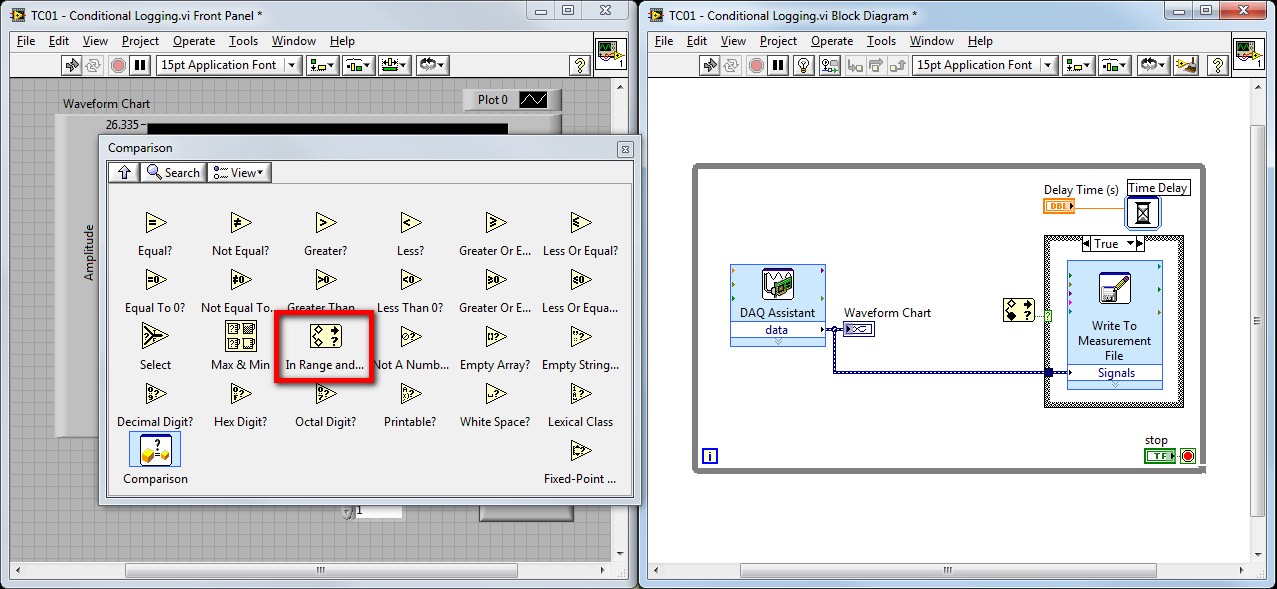
Figure 4. The In Range and Coerce function checks if a certain value is within the range of two other values.
-
Go back to the Programming palette, select Timing » Get Date/Time in Seconds, place it on the Block Diagram, and wire it to the middle terminal of the In Range and Coerce function.
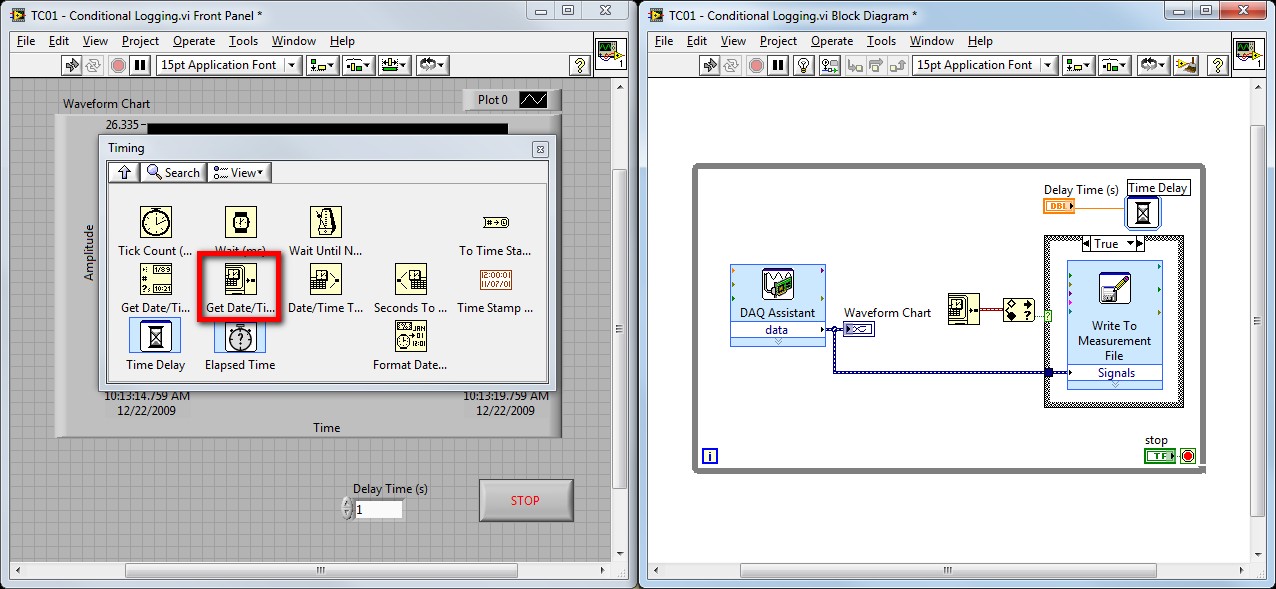
Figure 5. The Get Date/Time function returns the current date and time in each iteration of the loop.
-
Right-click on the upper limit terminal of the In Range and Coerce function, select Create » Control, and name it Stop Time. Do the same for the lower limit terminal and name it Start Time. Also, create an indicator for the output of the In Range and Coerce function called Logging?
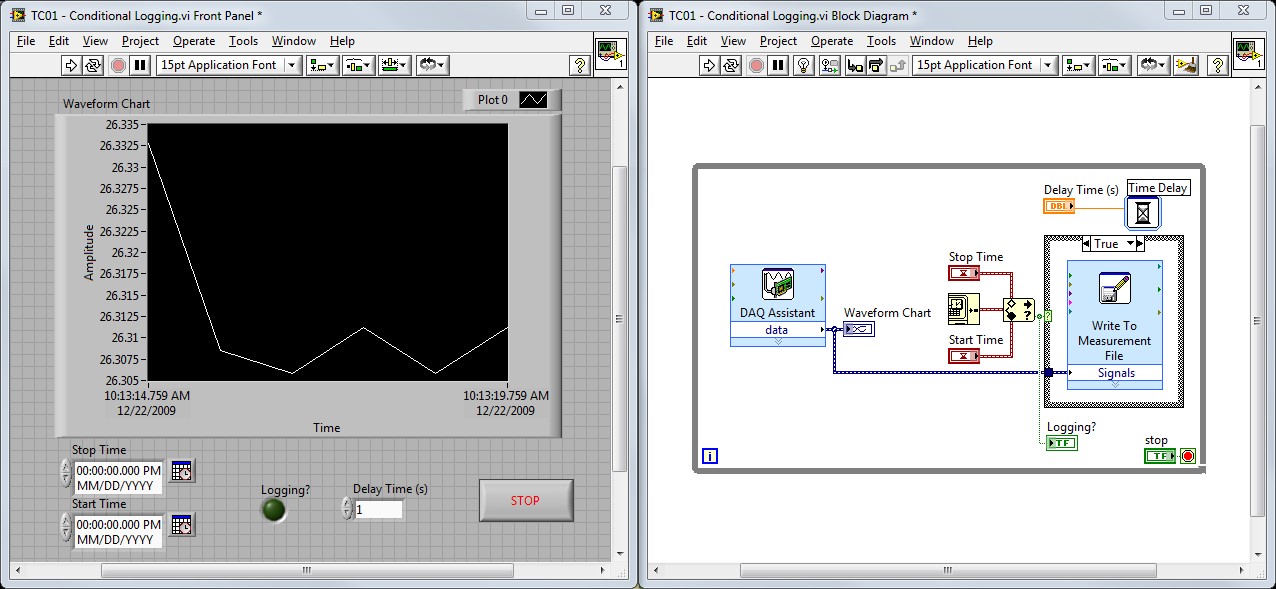
Figure 6. The In Range and Coerce function checks if the current time is between the Start Time and Stop Time, and outputs the result to the Case Structure. The Logging? indictor displays if the current time is within range.
-
On the Front Panel, configure the Start Time and Stop Time controls.
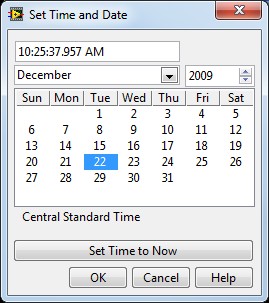
Figure 7. Set the time and date to start and stop logging.
-
Press the run button in the top left corner to start your application.
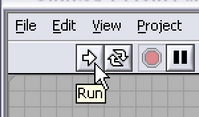
Figure 8. The run button starts your LabVIEW application.
Download the attached LabVIEW Code: tc01_conditional_logging.vi